acrylic paint, Art, Painting
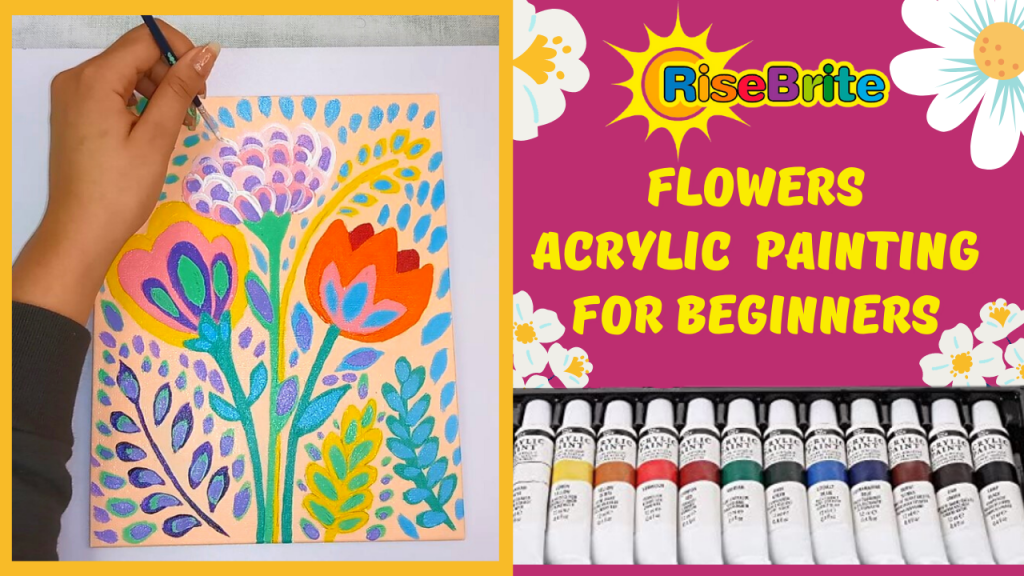
Easy Step By Step Acrylic Flower Painting For Beginner And Kids
Jun
Flowers are one of the most beautiful and delicate gifts of nature to us. However, have you ever paid attention to the details of the flowers consciously? They have different hues and shades, patterns, and lines contributing to their aesthetic beauty. These elements make flowers a popular art subject.
Painting acrylic flowers on canvas or sheet is interesting for art lovers since it allows free experimentation. If you want vibrancy to highlight, choose bright colors. If you desire a simple aesthetic, choose a pastel palette. The best part about acrylic floral painting is it is most suitable for beginners and kids.
Therefore, we are here with our guide on painting flowers with acrylics for beginners and kids. It’s a comprehensive, step-by-step guide. So, grab your acrylic supplies and let’s get started.
Our simple flower acrylic painting tutorial includes the supplies list and the instructions. But before we get to that, let us introduce you to the techniques you can experiment with while painting with acrylic colors.
CHECK OUT THE VIDEO TUTORIAL ON YOUTUBE
Techniques for Painting Flowers With Acrylics for Beginners
Stippling
The stippling technique includes creating a collection of tiny dots with acrylic colors. You need to use a sharp, pointed brush for it. You softly put small dots on the painting surface and fill the elements. You can use it to highlight elements of your painting as it creates a higher vibrancy of color in the observer’s eye.
Dabbing
Dabbing includes using a stiff bristle brush to paint the surface with light pressure. You can also use a paper towel to apply the paint. This technique uplifts the look of dense greenery. You can also add multiple layers of paint.
Sponging
As the name suggests, sponging includes the usage of a cellulose sponge to apply the paint on the surface. It is the same as the dabbing technique. It is popular among beginners since it is hard to mess up.
Detailing
The detailing technique is used to enhance the complexity of a painting. It needs a small, fine brush to apply detail and clean lines with acrylic colors. This technique is used in flower or landscape painting.
Underpainting
Underpainting, or dead coloring, is a technique to create the foundation of the painting. When the artist wants to create contrasting and tonal effects, this technique allows them to layer the colors.
Supplies Needed for Painting Flowers in Acrylic
To make a flowers acrylic painting for beginners, you will need the following supplies-
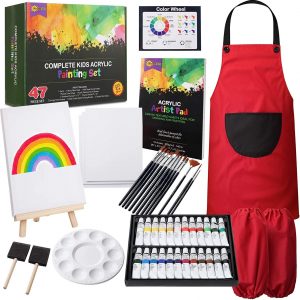
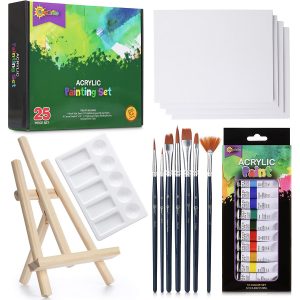
- A high-quality set of acrylic paints
- An A4 size drawing sheet
- Paint Brushes – filbert, round, or angular brush, fan brush, and thin-pointed brush
- An HB pencil and eraser
- Painting palette
- Masking Tape
Step 1: Sketching the Flowers
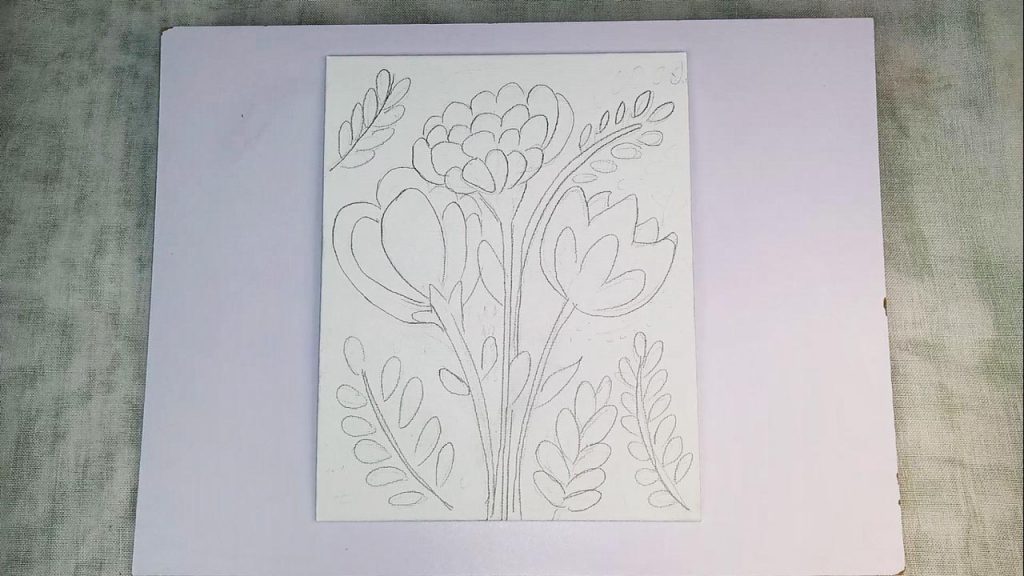
Let us begin with the drawing part. We will start by sketching three flowers of different styles and designs for our acrylic floral painting. Remember, our main aim is to capture the general shape of a flower. You do not need to focus a lot on the characteristics of the flower, such as shading or detailing, in the beginning.
The First Flower
We will draw the first flower in the center of the drawing sheet. Begin by drawing two thin lines from the bottom of the sheet. These lines are the stem of the flower. Draw two oval-shaped leaves on either side of the stem.
At the open ends of the stem, draw two small inverted V lines. At the top of it, begin drawing the petals of the flower. Draw 4-5 curved triangular petals in one row. Above it, draw three more rows of petals. Do not create a structured form of these petals – give them a loose form so that they look like real flowers.
The Second Flower
We will draw the second flower to the right of the first flower. It resembles the design of a tulip.
Again, draw two thin lines from the bottom of the sheet to make the stem of this flower. However, make them curved towards the right to give them a slanted look. For the petal, draw a U-like shape on the open ends of the stem. Join them at the top small open triangular pattern. You can make two more small petals behind these large ones to make them look like densely packed petals. They will look like peeking out from behind. Also, draw three inner petals at the heart of the flower. Do not forget to make small leaves on the stem.
The Third Flower
For the third wildflower, begin sketching at the left of the first flower. We, again, first make the stem of the flower in a curved manner. However, this time, make it slanting in the left direction. At the open ends of the stem, draw an inverted tear-shaped petal. Make two more petals on either side of it, but keep them joined. You can make more petals at the back of it. Also, add small leaves on the stem on either side.
You are now done with the flowers. Let’s move on to drawing the leaves in the blank space. Fill all the white space by drawing different leaves.
That’s it! You’re done with the sketch.
Simple Flower Acrylic Painting
Now we can move on to coloring the flower with beautiful acrylic paints.
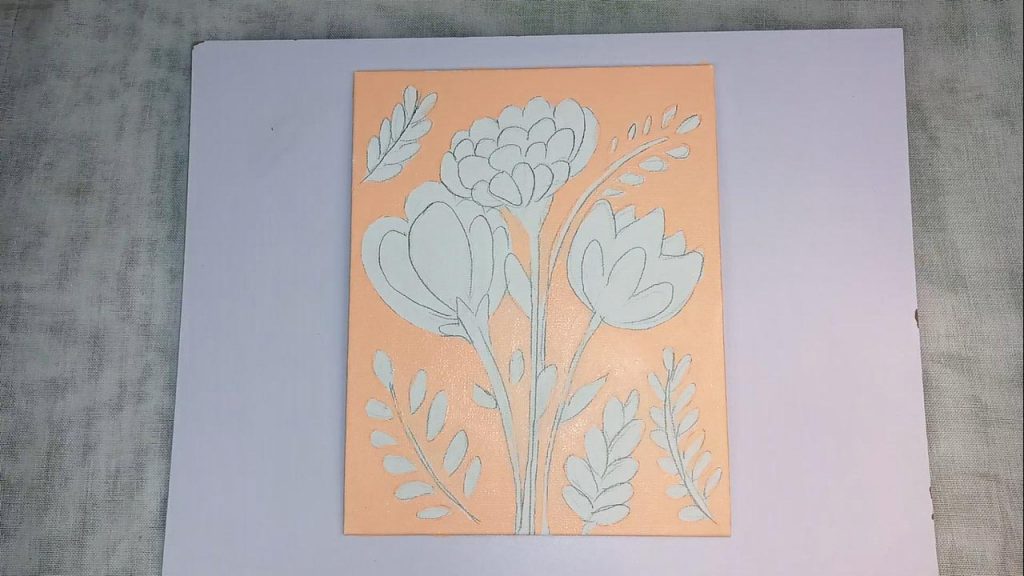
Step 2: Painting The Background With Pink Acrylic Paint
We will first paint the background instead of the flower and leaves. Filling the white space of the background with light colors helps in highlighting the rest of the acrylic paint plants. We are choosing the champagne color here from the RiseBrite acrylic paint set for kids. Since you have little space to paint, use a filbert, round, or angular brush. They will keep your brush strokes smooth and fine. Paint every area where you have no element drawn. Be careful when you paint the intrinsic spaces around the flower and leaves. You do not want to color them mistakenly and ruin your painting.
Once you’re done, we can move to the best part – painting the flowers in radiant colors. However, let the background dry a little bit first. You don’t want the colors to blend into each other.
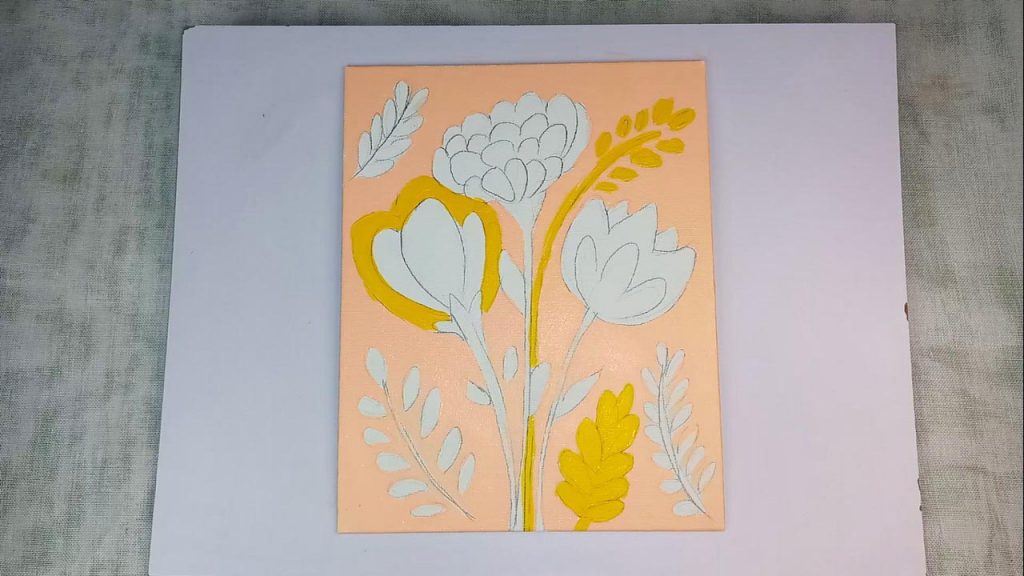
Step 3: Painting The Flowers And Grasses With Yellow Acrylic Paint
Let’s begin by painting the flower on the left. We wish to make it a yellow flower acrylic painting. So, paint the outer part of the flower in a bright yellow color. You can use the same color for one or two of the leaves to bring harmony into the painting.
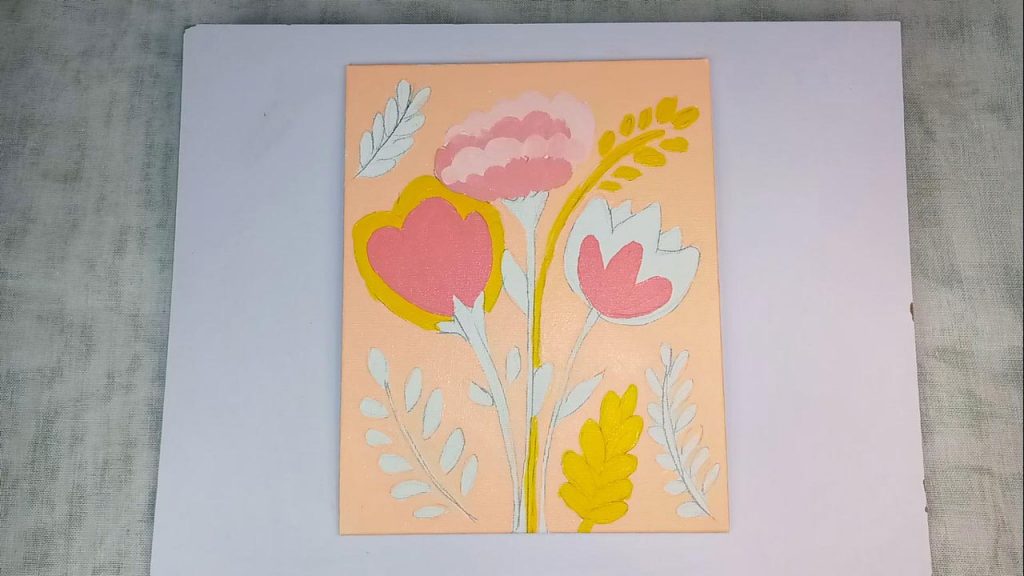
Step 4: Painting Pink Flowers With Acrylic
Paint the main petal of the left flower with pink. Use a fan brush here to paint the petals with finishing.
Use the same shade of pink for the inner petals of the flower on the right. To paint the middle flower, we will choose a pastel baby pink to soften the look of the painting, then apply the same darker shade of pink from before in a few petals to make a good mix.
Step 5: Adding More Acrylic Paint Colors To The Flowers
Moving back to the second flower on the right, use cherry red and orange to paint the rest of the petals. For narrow spaces, use an angular brush. Next, layer purple on top of the flower on the left to create inner petals.

Step 6: Filling In The Stems With Green Acrylic Paint
To paint the stem and its leaves, use different shades of green. The different colors of green will produce depth and variation.
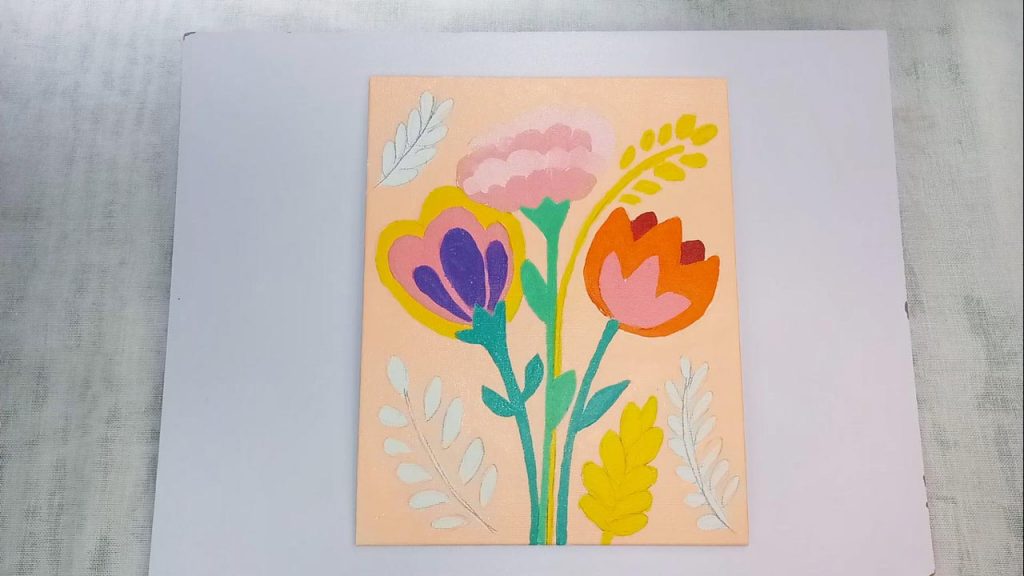
Step 7: Painting Grasses With Acrylic Paint
For the remaining grasses, use cold colors such as purple, blue, and green. It will give a contrasting effect. Use a fine pointed brush to paint them.
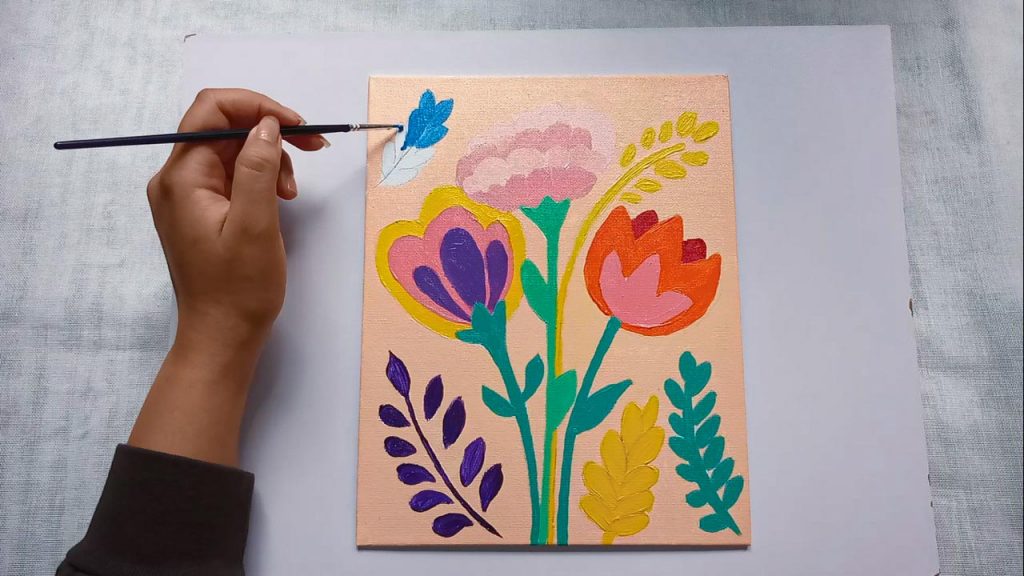
The Final Detailing of the Wildflower Acrylic Painting
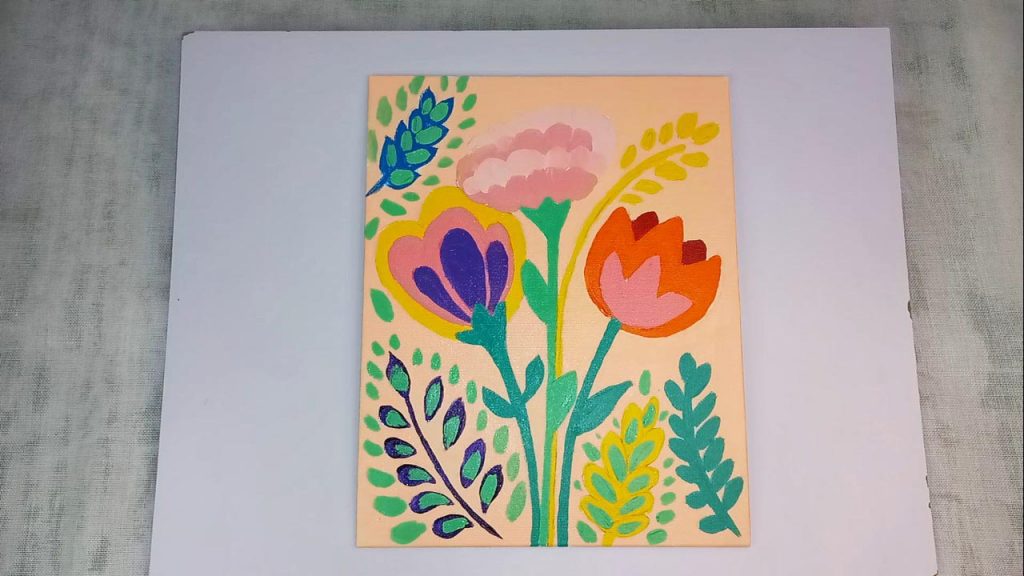
Once you’re done with the basic color-filling, it’s time to give your painting an edgy look. Take a round brush and begin filling in detailing elements in the leaves. To make the effects look impressive, you need to use colors smartly here.
To create a shading effect, try putting the tip of the brush on the color and move it it slowly. Do not hesitate to incorporate all your crazy detailing ideas here. Experimentation is the key to creating a masterpiece!
Step 8: Add Green Highlights With Dabbing
Make oval-like elements on the leaves with cold colors such as light green. Make the same effect on the champagne background around the leaves. You can do the same on the empty spaces of the flower petals and leaves (see below.)
Step 9: Add Blue Highlights With Dabbing
Do the same thing, except this time using a light blue acrylic paint. You can even add some highlight to the petals like the one on the right in the picture below.
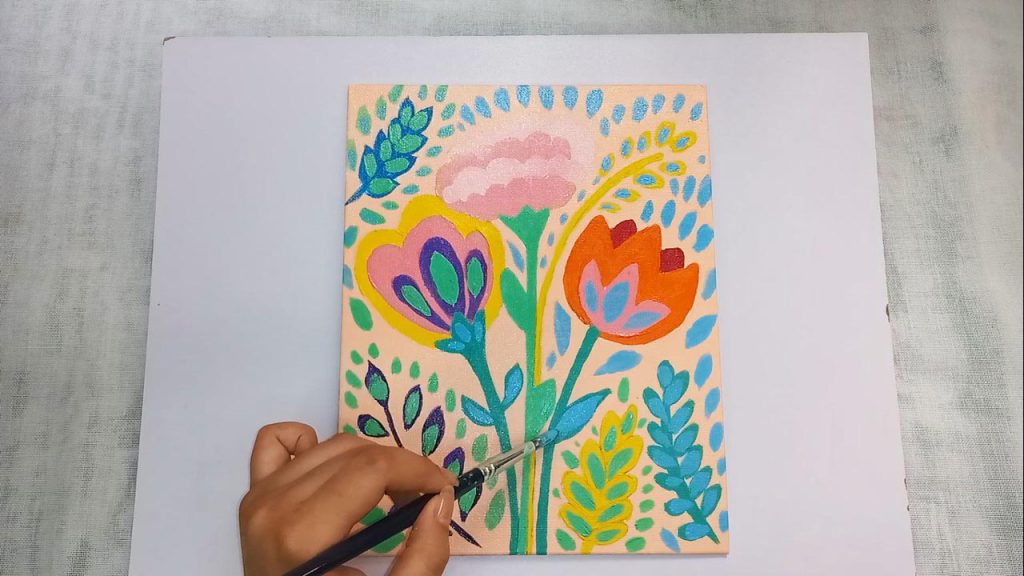
Step 10: Add Purple Highlights With Dabbing
Repeat the dabbing again with a purple color. Notice That we applied a lot of purple acrylic paint to the middle flower this time. This makes the flower stand from the background and come alive!
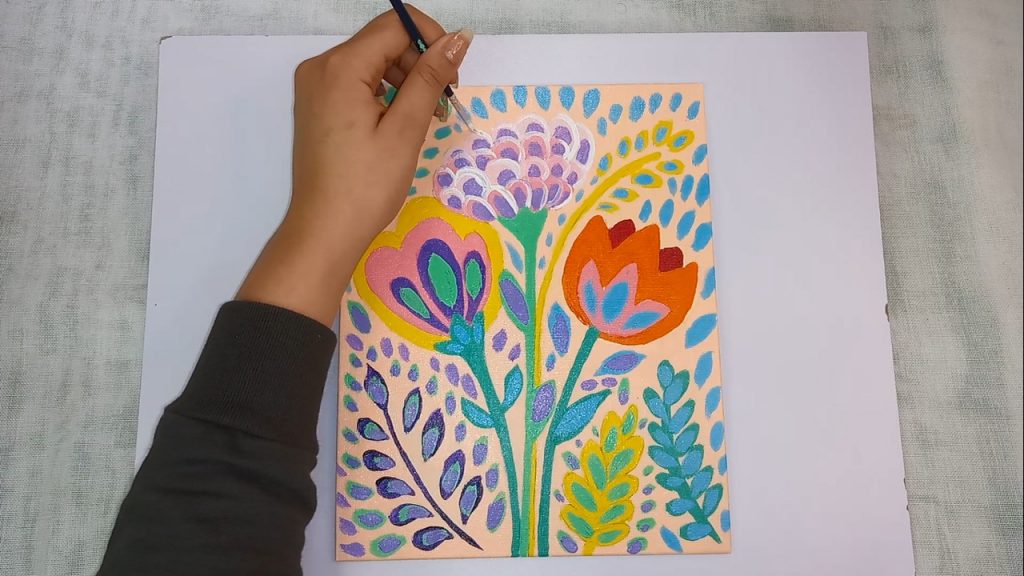
Step 11: Add White Highlights
We made the center flower come alive in the last step, but we can do a little more, just by adding a little white acrylic paint to create edges like so!
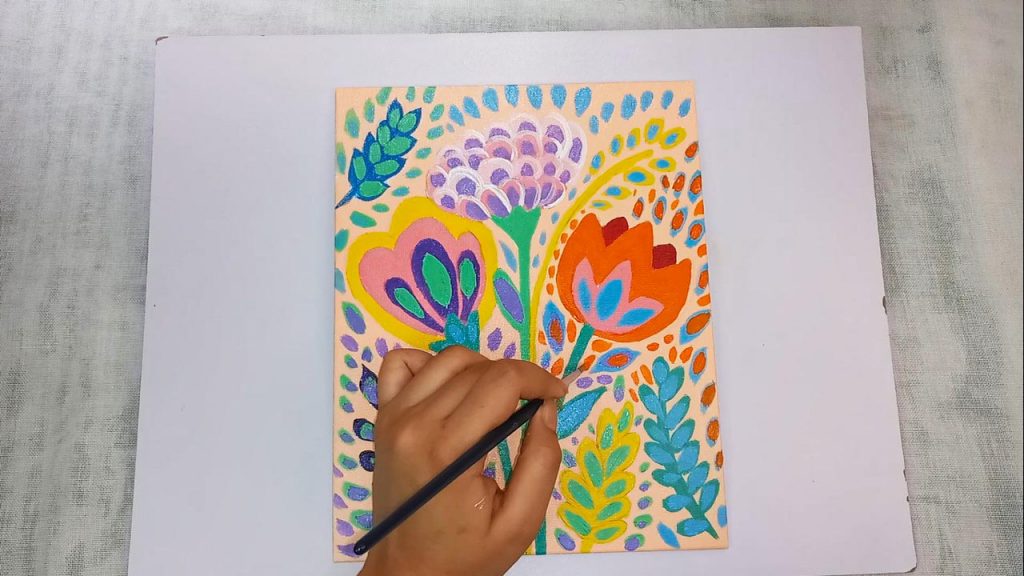
Step 12: Add Orange Highlights With Dabbing
Ok, ok… we know, but if you are familiar with us, you know that we just can’t help but go over the top every time! So unapologetically, we are going to add even more color with a little more dabbing of orange acrylic paint to top things off. Here you go!
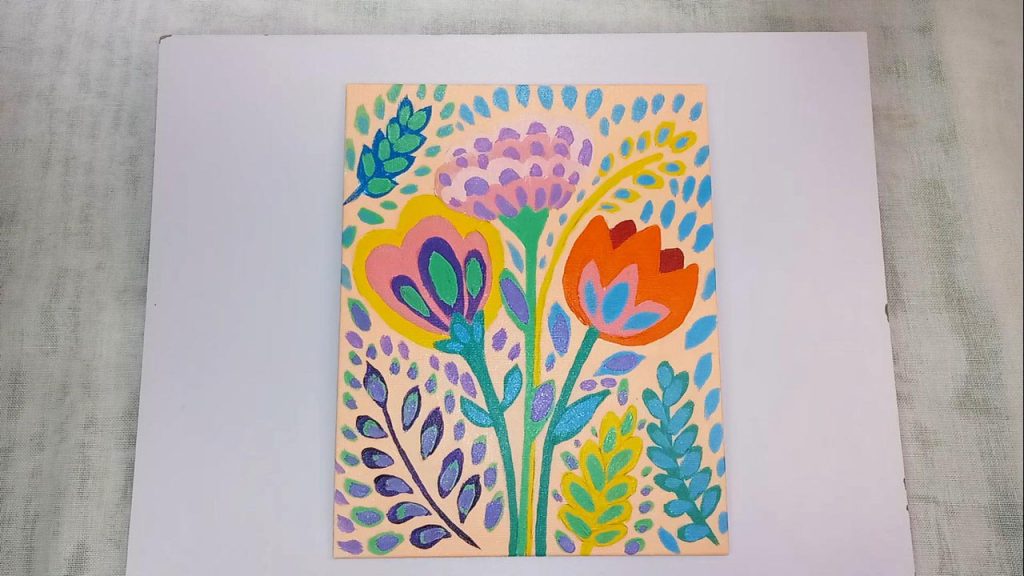
And tada! Your acrylic floral painting is ready!
Pat yourselves on the back, and celebrate that you have made a successful attempt at creating an easy flower acrylic painting.
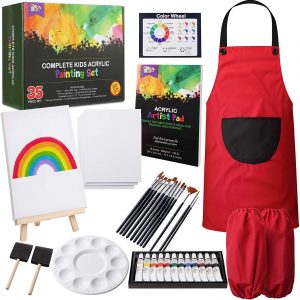
If you have one of our acrylic painting kits, you can display you proud work on the table top easel.

Also, do not forget you can check out our companion YouTube video.
Remember, you need to practice to get better. Therefore, get yourself plenty of painting supplies and have fun with our painting tutorials.