Art, Painting, Watercolor Paint
Easy Landscape Watercolor Painting For Kids and Beginners

Sep
Welcome to a new tutorial! Take your watercolor supplies and let’s start this wonderful landscape painting!
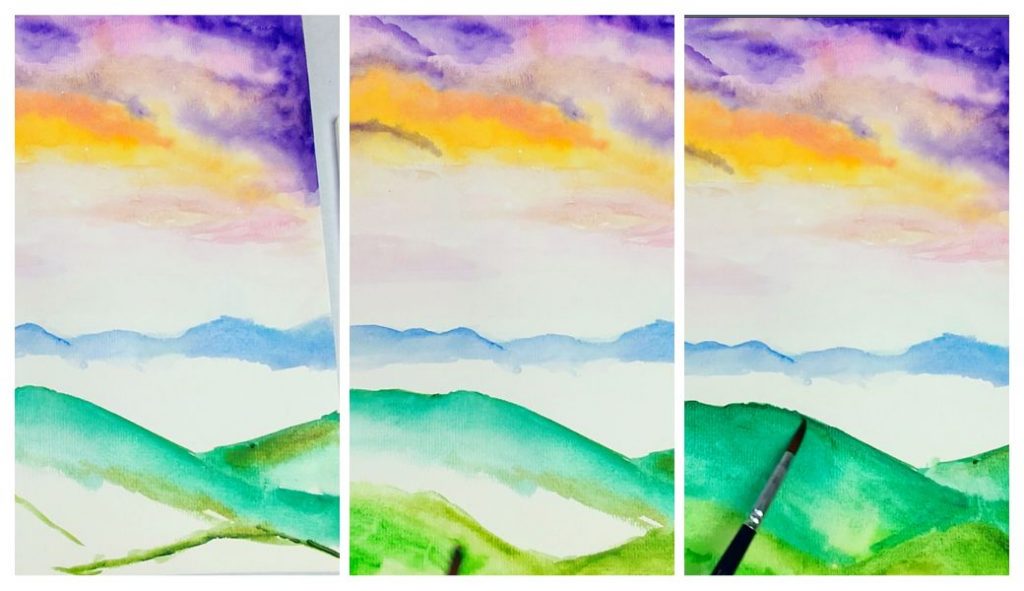
Step 1:
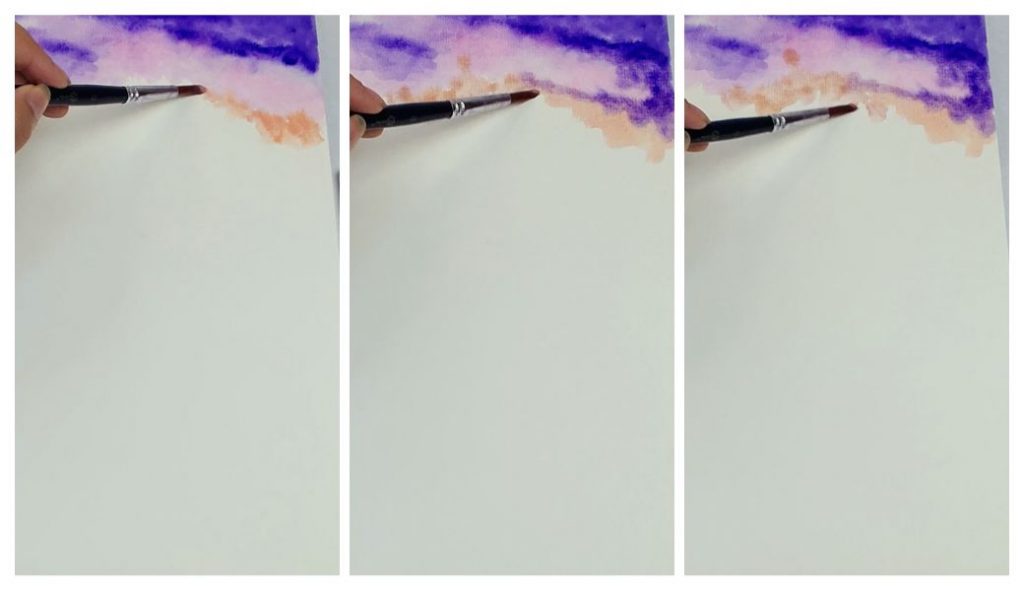
We’ll start with the sky. Use a round brush and create a cloud effect like this.
Add water to some areas to lighten the color.

Step 2:
Now apply pink paint under the violet.

Step 3:
Add pastel orange and mix the colors.
Step 4:
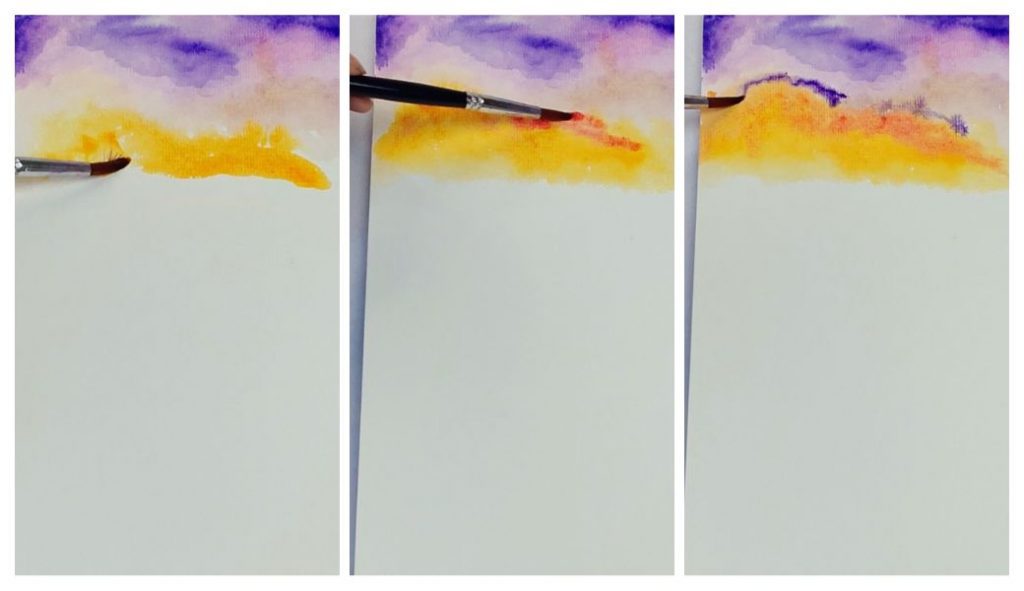
Apply yellow and some orange and a little red.
Step 5:
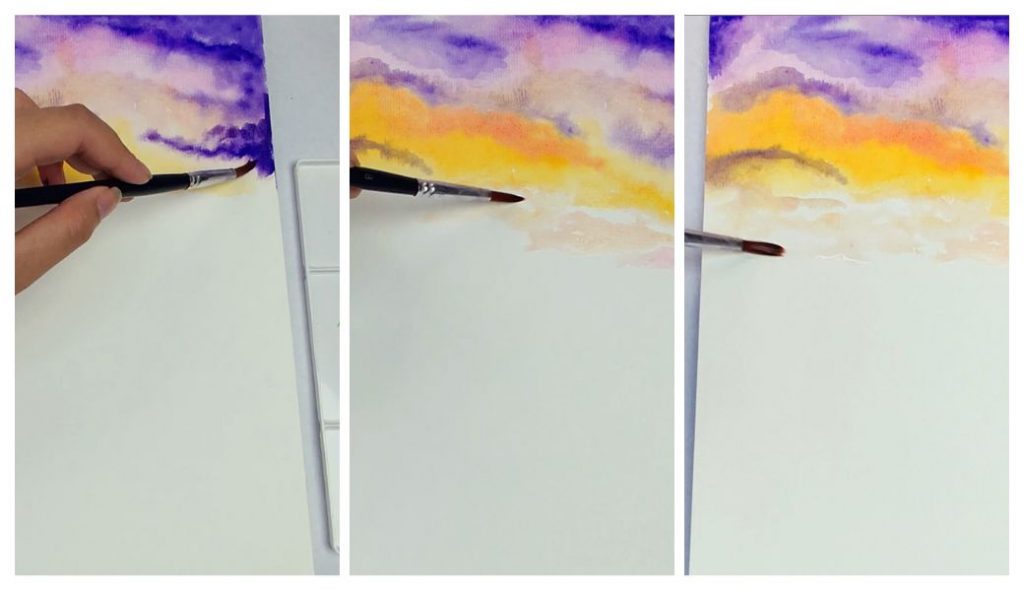
Continue mixing and applying color in the sky.
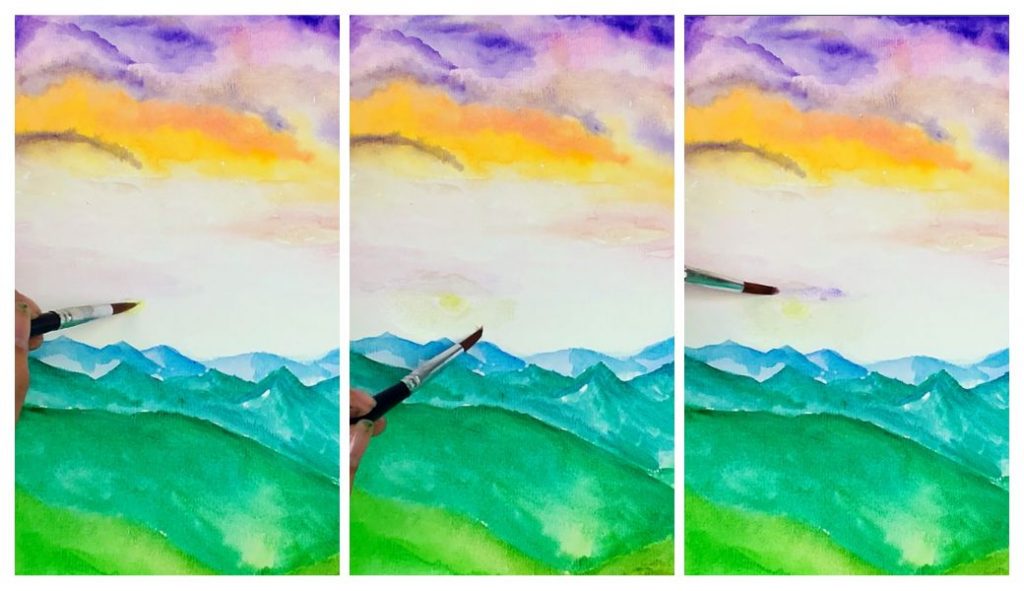
Step 6:
Now add small traces of color and leave some of the unpainted areas.
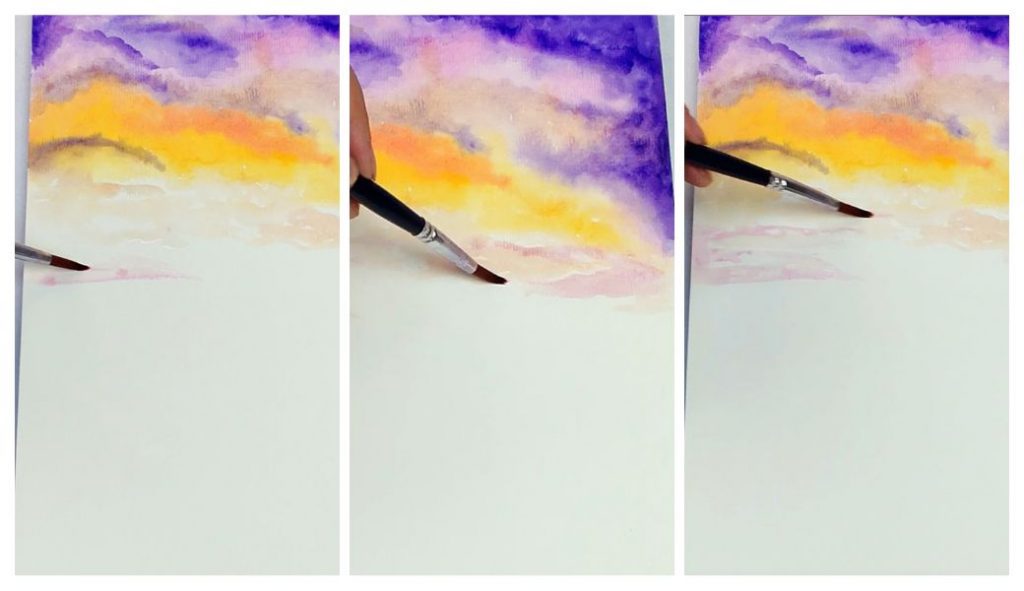
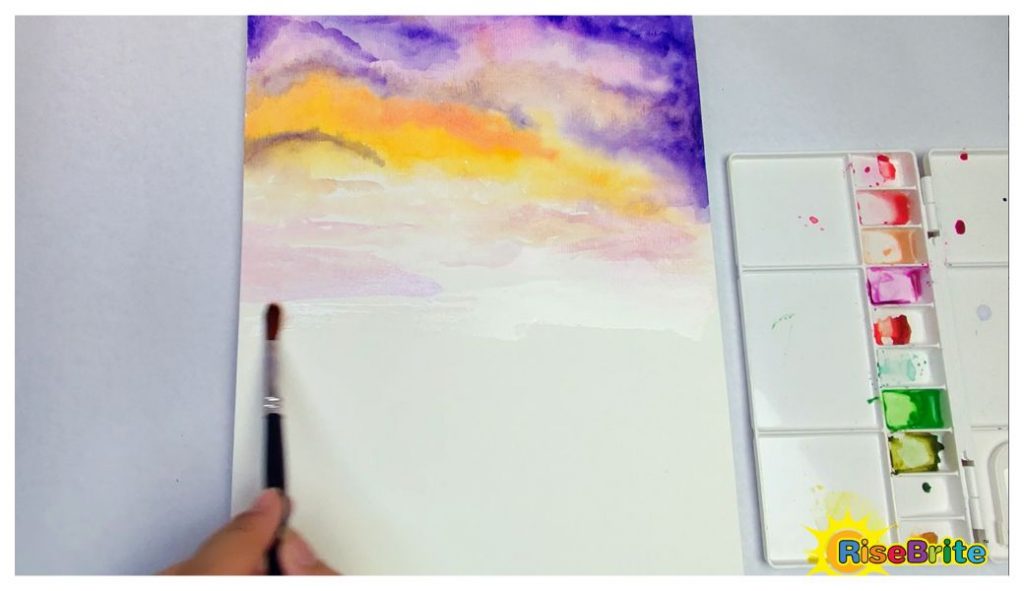
Step 7:
We will now create an atmospheric effect. Use pastel colors. Also, add water to blend.
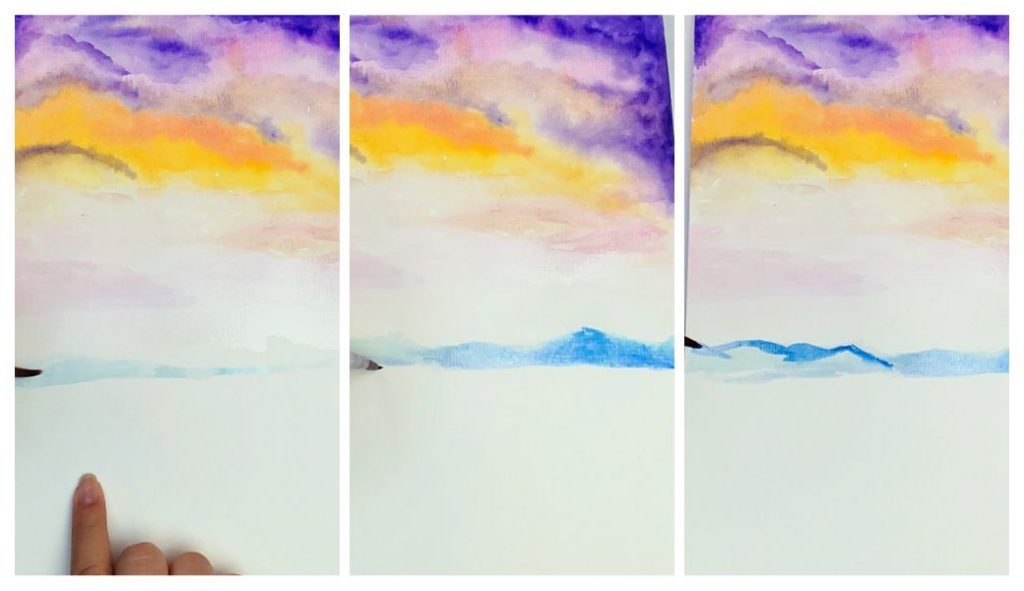
Step 8:
Now, continue with the mountains. Use the color blue.
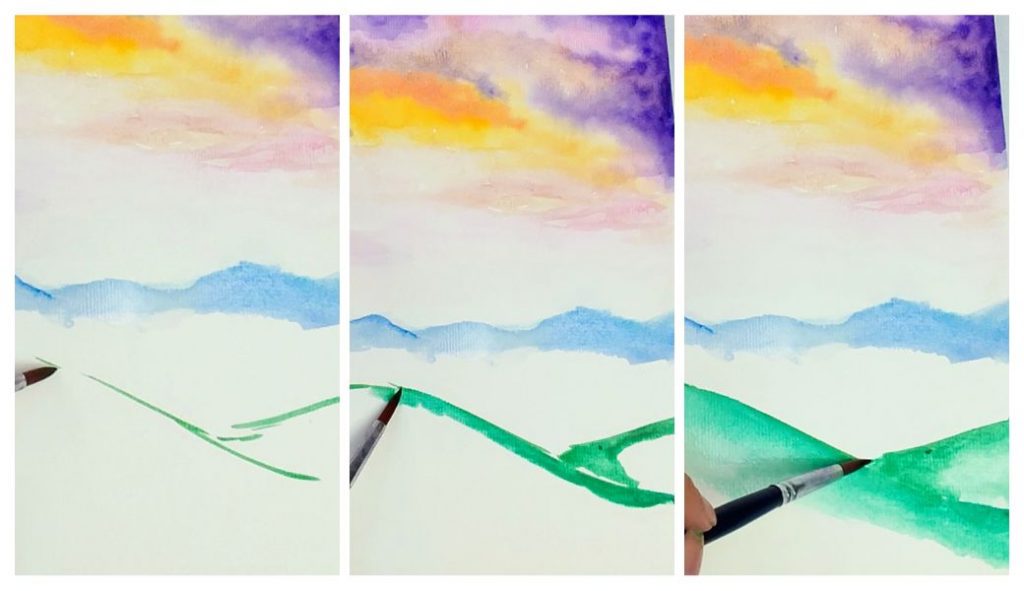
Step 9:
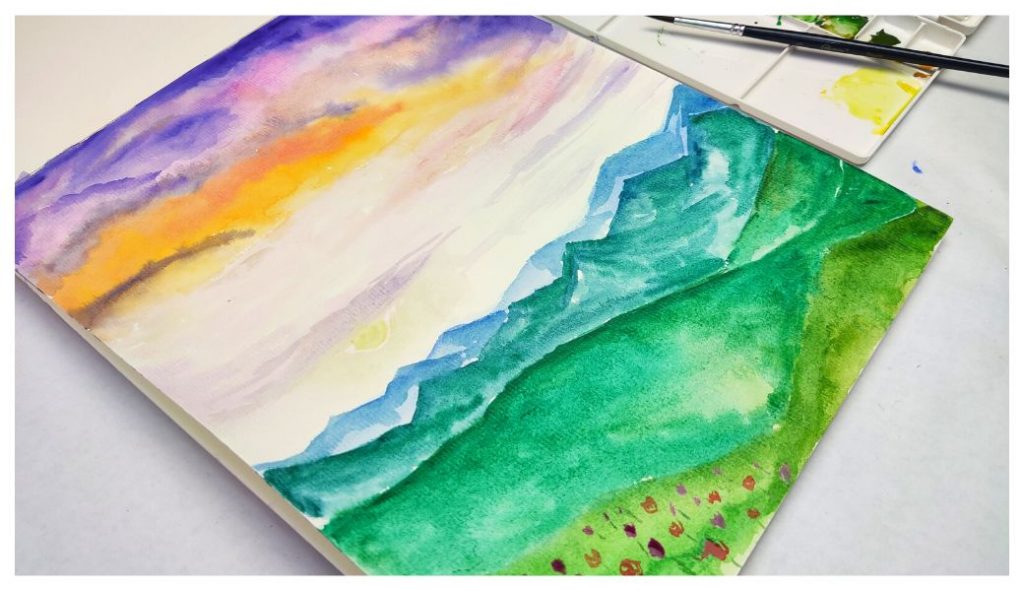
Paint the nearest mountains using green. Use water to lighten the color. Apply different types of green.
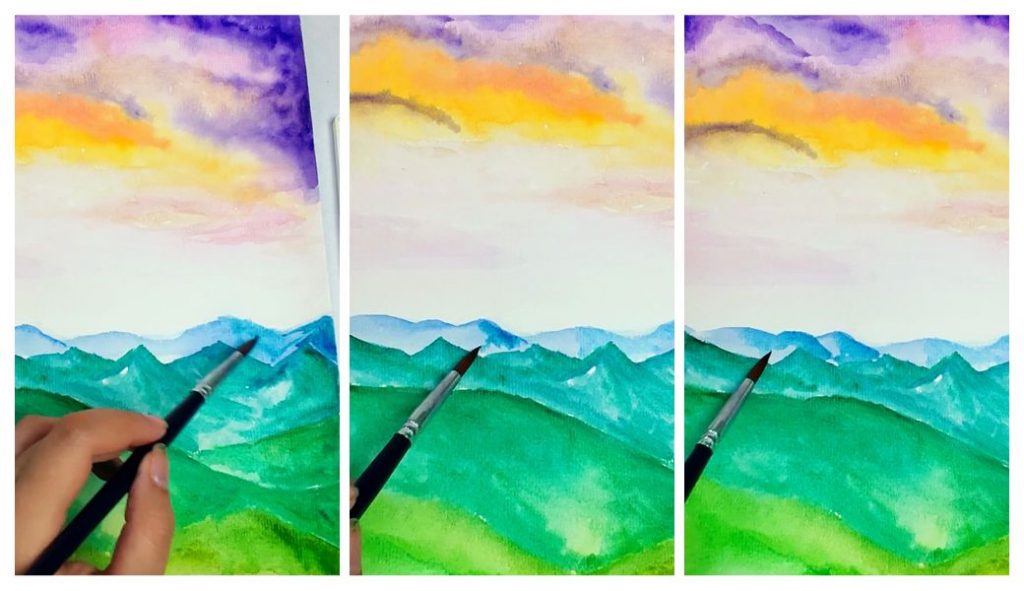
Step 10:
Continue creating the other mountains. Put darker color tones on one side to create a little volume.
Step 11:
Repeat the process with the mountains in blue. Put some shadows, and leave some areas with lighter tones to represent the sunlit faces of the mountains.
Step 12:
Paint the sun under a cloud using light yellow.
Step 13:
Add some flower details to the prairie. Draw small circles in the distance and use different colors for the flowers. Finish the last details and we are done!
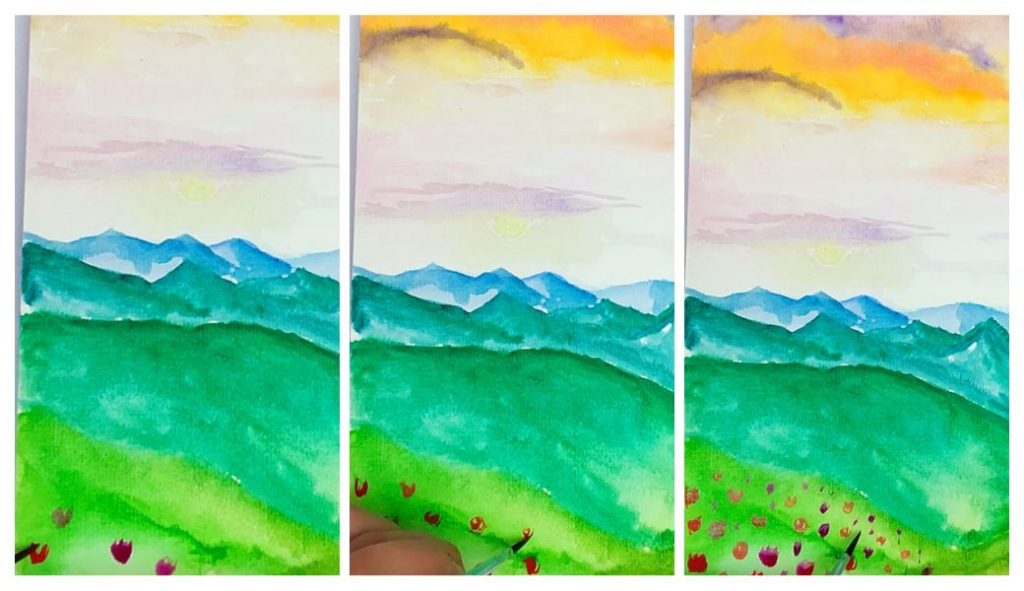
Step 14:
Enjoy your beautiful mountain landscape painting!