acrylic paint, Painting, Rock Painting
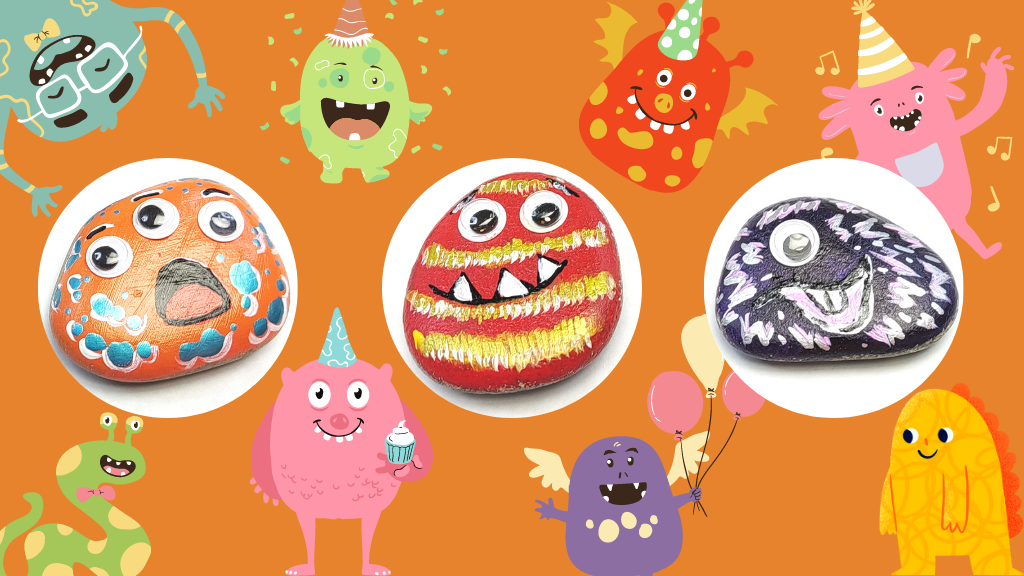
3 Easy Funny Monsters Rock Painting Step By Step Tutorial
Oct
Welcome to the joys of Rock Painting!
Rock painting is a wonderful hobby and a great way to express creativity. It’s a unique kind of art that provides an excellent opportunity to combine lots of fun with a sense of pride and achievement. As with any creative project, it is important to remember that the goal is to have fun not to produce perfection. At RiseBrite, we believe promoting creativity leads to more confident, happy, and mindful human beings. People who can connect with the world and themselves. People who can discover who they are and who they want to be. We hope to encourage you and inspire you to cultivate and nourish your imagination and creativity for a world full of possibilities.
Let’s unlock your creative potential, let’s paint!
Note that this post is a part of our “Rock Painting Tutorial Series” which has a set of companion videos on YouTube.
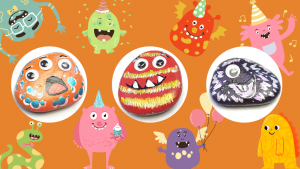
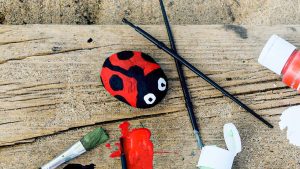
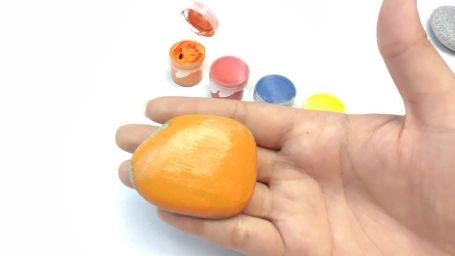
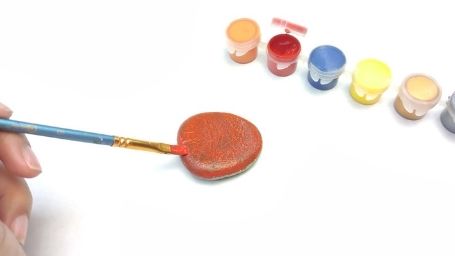
To create the monsters, completely paint one side of your rock with some of your favorite colors to prepare the background.
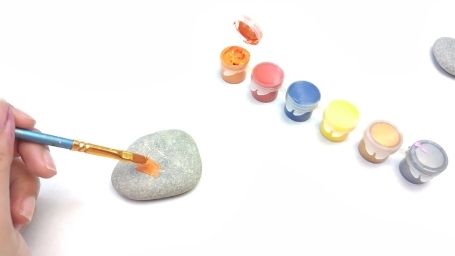
Put as many paints as you need, let it dry, and continue with the second rock.
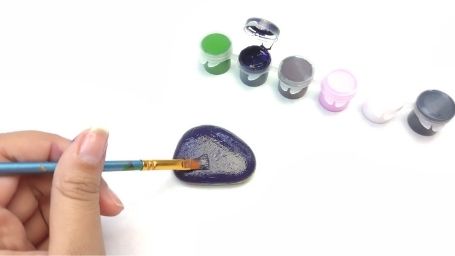
Paint the next rock purple or blue. Use the flat brush in our set.
The last rock can be covered in red or pink. Let it dry.
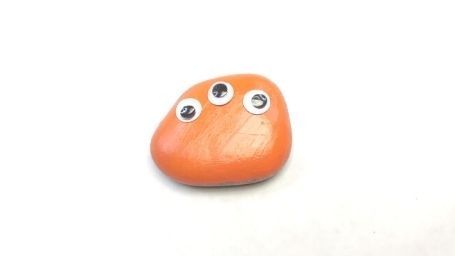
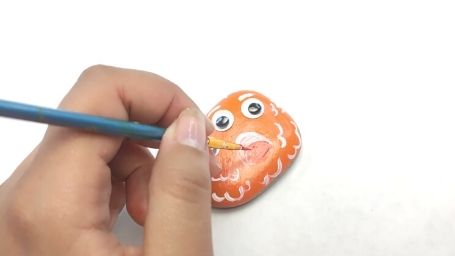
Once dried, pick up the first stone and think about how many googly eyes to put on it. Use glue to stick on your monster’s face.
Once dried, pick up the first stone and think about how many googly eyes to put on it. Use glue to stick on your monster’s face.
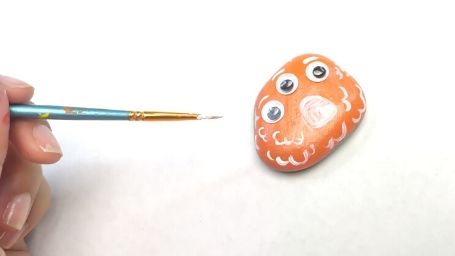
Paint the tongue red.
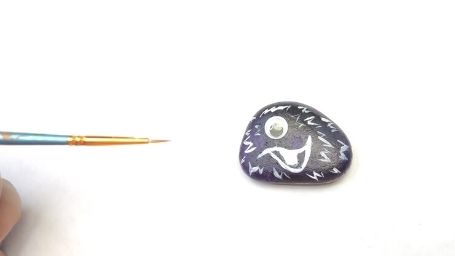
Use the acrylic black marker to define some lines and inside the mouth.
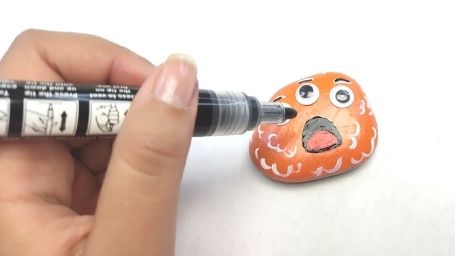
Make the last details, add some dots using the metallic blue acrylic marker.
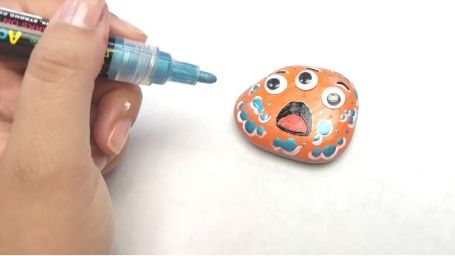
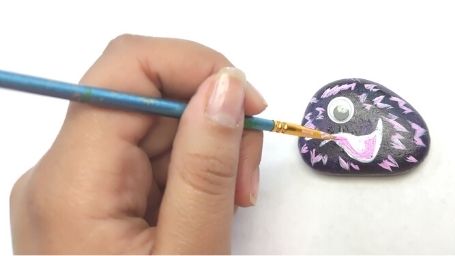
Repeat the process for the next rock. Change the expression and number of eyes. For example, the purple rock with only one eye and a mouth with teeth.
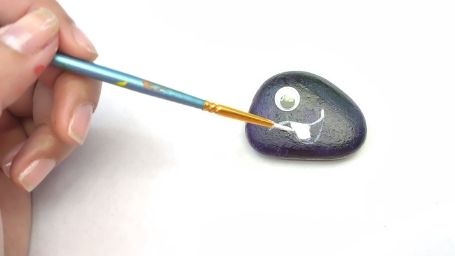
Make a different fur texture, for example, furry like this.
Add some pink to highlight the texture. The fine brush will help you in this.
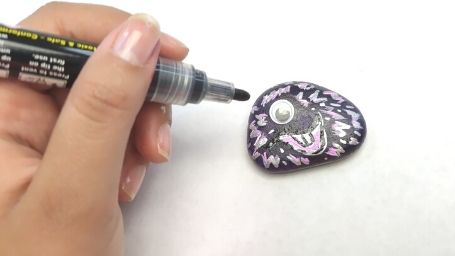
With the silver acrylic marker paint some lines. To finalize, add a black acrylic marker if needed.
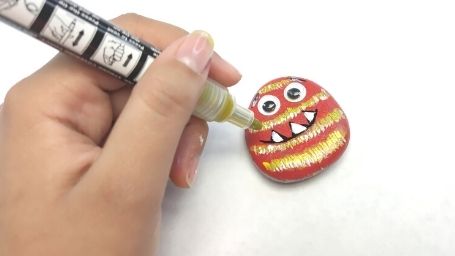
For the last stone, glue your eyes and make a smiley face with fangs using the acrylic black marker.
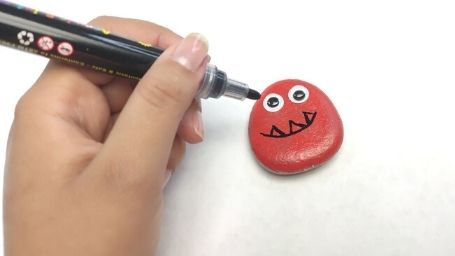
Paint some lines with white and yellow colors, using the finest brush. Also, fill the fangs in white. Add gold highlight details by the acrylic marker.
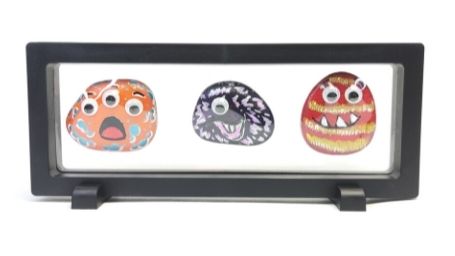
Once the rocks have dried up, put them in the 3d frame for everyone too see!