acrylic paint, Painting, Rock Painting
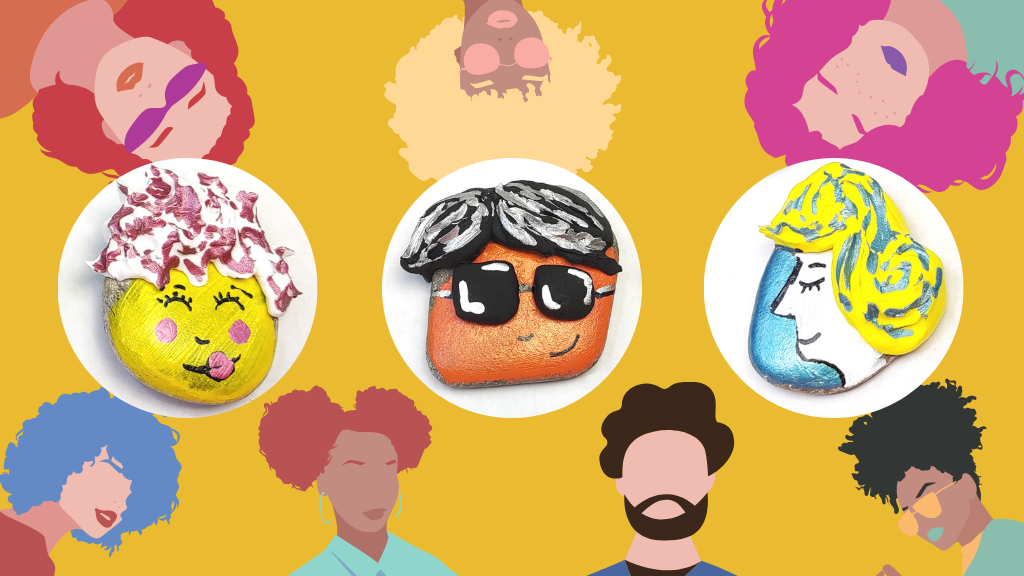
3 Easy Faces Rock Painting Step By Step Tutorial
Oct
Welcome to the joys of Rock Painting!
Rock painting is a wonderful hobby and a great way to express creativity. It’s a unique kind of art that provides an excellent opportunity to combine lots of fun with a sense of pride and achievement. As with any creative project, it is important to remember that the goal is to have fun not to produce perfection. At RiseBrite, we believe promoting creativity leads to more confident, happy, and mindful human beings. People who can connect with the world and themselves. People who can discover who they are and who they want to be. We hope to encourage you and inspire you to cultivate and nourish your imagination and creativity for a world full of possibilities.
Let’s unlock your creative potential, let’s paint!
Note that this post is a part of our “Rock Painting Tutorial Series” which has a set of companion videos on YouTube.
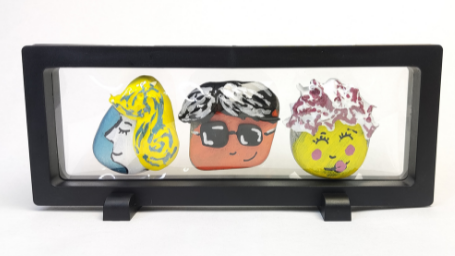
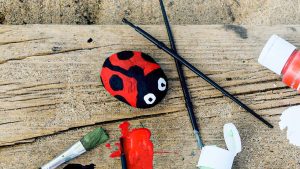
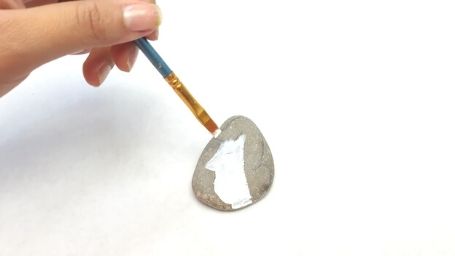
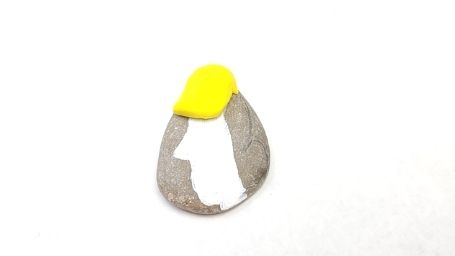
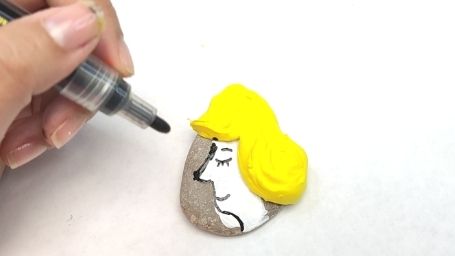
Start to paint the first rock using white and a flat brush. Make a profile lady face like this.
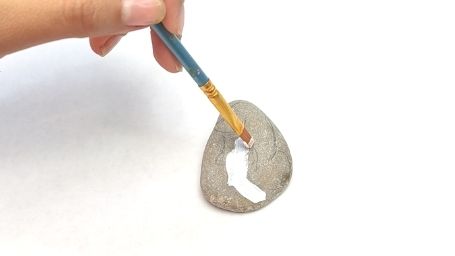
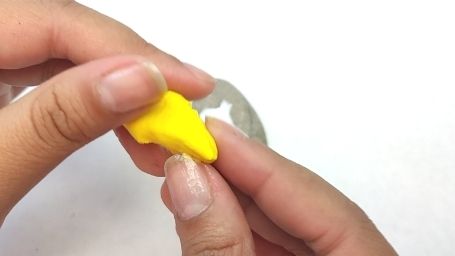
Put enough paint to cover it completely. Let it dry and bring the yellow light clay that comes with our set.
Model the clay to create the hair parts.
Put the clay on the top of the rock. It must look like a lady’s hair.
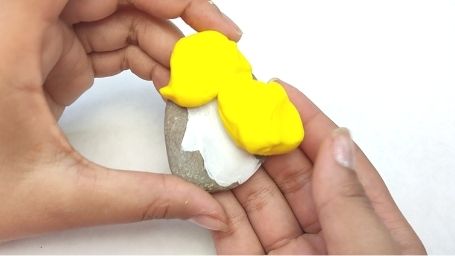
Add more clay to complete the lady’s hair like this.
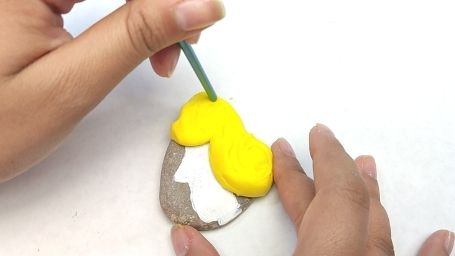
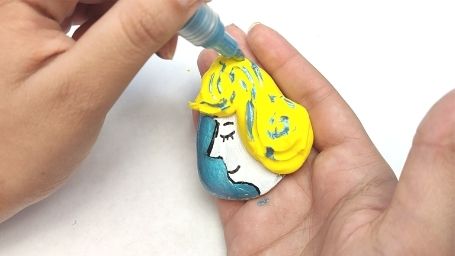
With the tip of a brush, make wavy lines to add texture to the hair.
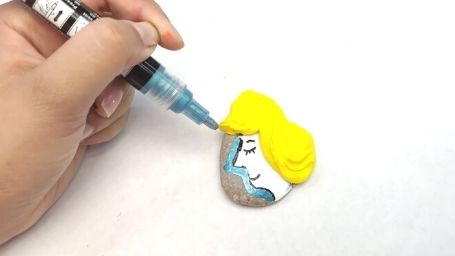
Now use the acrylic paint marker to draw the face.
Use a metallic blue marker to fill the background, similar to this.
Apply some lines over the hair too with the marker.
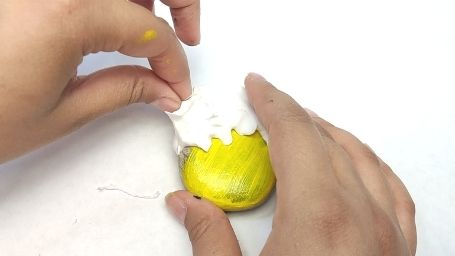
Paint the second rock using yellow paint and a flat brush, putting enough paint over it.
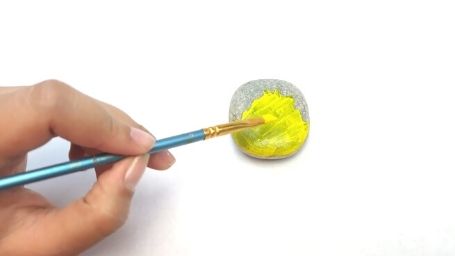
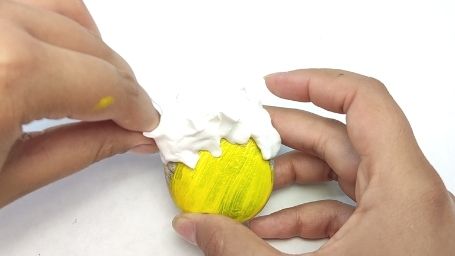
When it’s dry enough, model some light clay, this time use the white color and stick it on the top.
To get this look, pinch to create the hair’s texture.
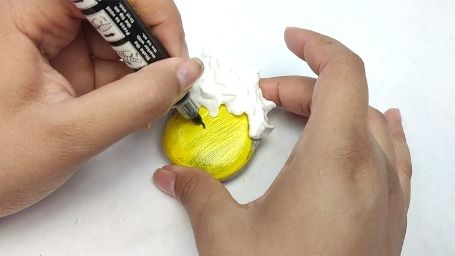
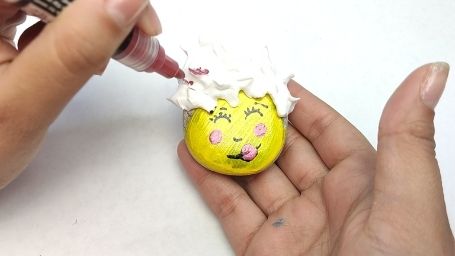
Draw the face with the acrylic black marker.
Use the metallic red acrylic marker for the lips, cheeks, and hair.
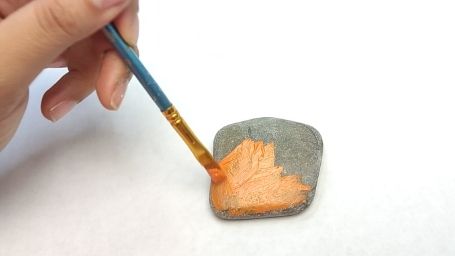
For the last rock, the face paint is orange, covering it very well.
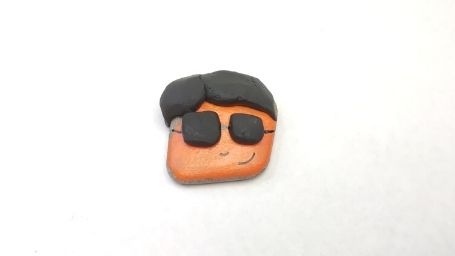
Create the face with square sunglasses made of black clay and a fashionable hairstyle. Also, draw the nose and lips.
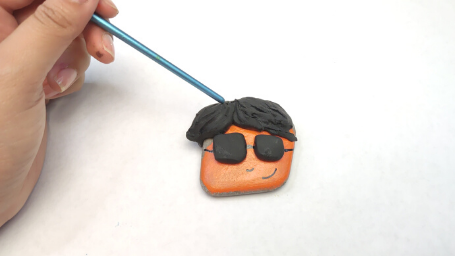
Make the hair’s texture using the brush tip, in this way.
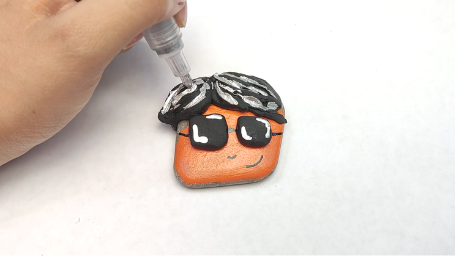
Paint some lines using the silver acrylic maker to finish your last rock face.
Let them dry completely, you can then use the 3D frame to put them on display.