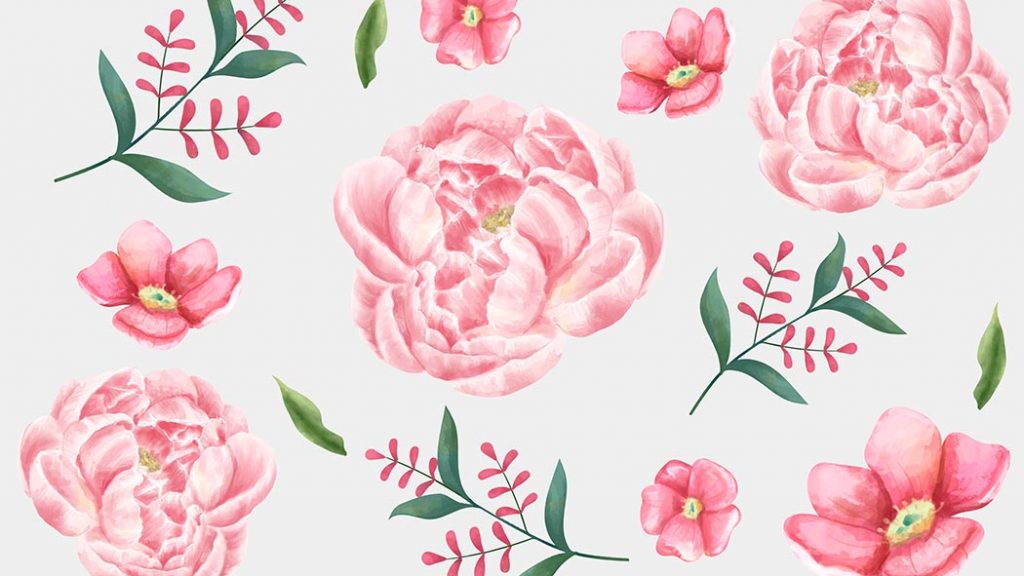
Art, Painting, Watercolor Paint
Easy Watercolor Flower Painting for Kids and Beginners
Mar
Watercoloring is a refreshing activity that brings you deeper into the world of art and creativity. Kids are easily drawn towards it since it involves fun and bright colors. It may seem intimidating at first, but just like other art forms, it needs a little time and practice. With proper instructions and steps, you can easily guide your kid to become a good junior watercolor artist.
The art of watercoloring is also helpful for adults. It can help you unwind a long day at work and relax. You don’t have to be an expert at painting. All you need is to learn some simple tips and tricks.
To help you get started, we bring an easy watercolor flower painting tutorial. Through tips and techniques, you can teach your kid basic painting skills. In addition to that, you can also learn how to paint beautiful floral designs.
Let’s get started right with the easy watercolor flowers for beginners tutorial.
But before you move forward to learning how to paint simple watercolor flowers, let’s learn a few basic watercolor techniques to get started.
Watercolor Painting Must-Know Tips and Techniques
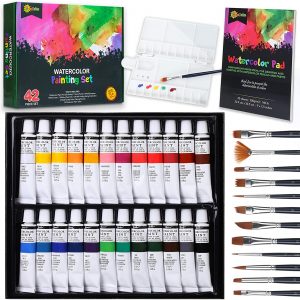
Brushes
In watercolor painting, various brushes are used to paint objects of different shapes and sizes. Choosing the right kind of brush is important. Every brush is made for different purposes. Your painting type and object decide the brush type. The different types of brushes are:
- Round: Round brushes are the most versatile and basic kind of brushes. They have a round metal part that holds the head of the brush. You can use them for both detail and broader strokes.
- Flat: Flat brushes have a flat metallic part holding the head of the brush. It can be both square or rectangular in shape. The edge of the brush gives strong linear strokes. You can use it for large and broad washes. In addition to that, it’ll work well for detailed objects as well.
It comes in three variations – bright, angular, and filbert. - Detail: Detail brushes are used to make tiny and detailed strokes. They come in two variations – spotters and rogers. The former one has short hair length and helps in painting tiny dots and details. The latter one is used more for lettering purposes. It works great for painting thin lines.
- Wash: Wash brushes have wide hair and are used to make large strokes covering a lot of portions of the paper.
It comes in two types. The first one is the mop. It has soft bristles made of squirrel or goat hair. It’s good for holding large amounts of water. The second one is hake. It’s made by hand with goat hair. It works nicely for laying big washes.
Make sure you get a good quality watercolor brush to not be left with unwanted streaks in your painting.
Watercolor Paper
Watercolor involves the usage of water which makes the selection of watercolor paper very important. It’s thicker so that it could hold the weight of water. The heavy density allows the water to sink in. Using another kind of watercolor paper can peel out the fibers of the paper.
The Amount of Water
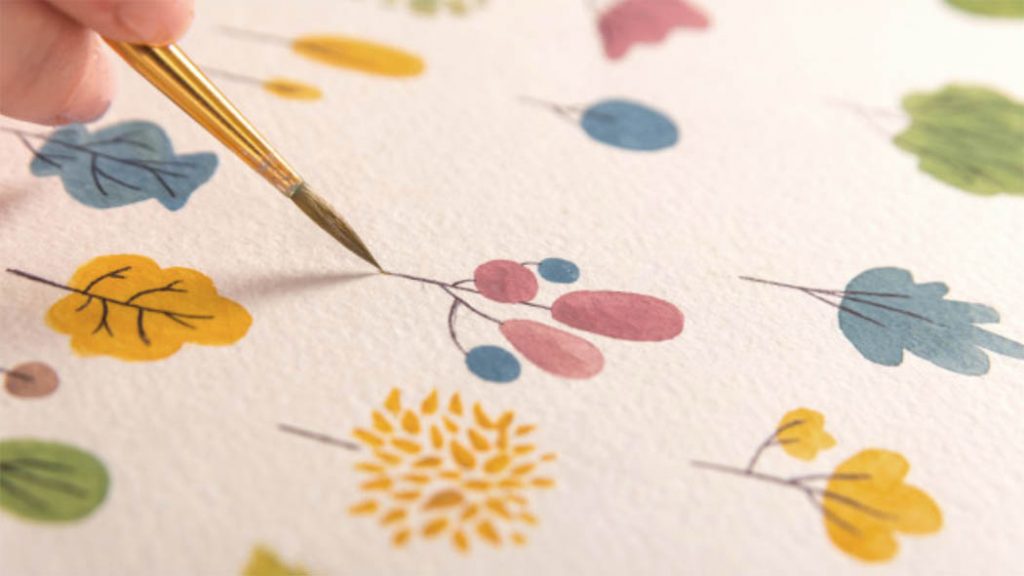
To get the right shade of color, it’s crucial to mix the right amount of water in the pigment. Traditionally, you should start with mixing more water in your pigment. Gradually, reduce the amount of water.
The thickness of your stroke on the watercolor paper also makes a difference. A thicker stroke needs pressing down the brush on the paper harder. While with a thinner stroke, a very little amount of pressure does the job.
Layering
Be it abstract or a realistic watercolor painting, it requires multiple layers of watercolor. The watercolor flower painting also needs layers. In the beginning, it can look a little complicated. But start with adding a couple of layers.
Also, keep in mind that the watercolor dries to a lighter shade. You’ll get the desired result after a few attempts.
Controlled Color Palette
In the beginning, it’s best if you paint with a certain controlled number of paints. Sticking to a certain number of watercolors will create a balance and fluidity to the painting.
If you want to experiment, add a little variation of shades. Don’t strictly use a controlled palette however. You can pick up a different color if you want to bring contrast. But try to stick to a pre-decided 4-5 colors and play with different shades of those colors.
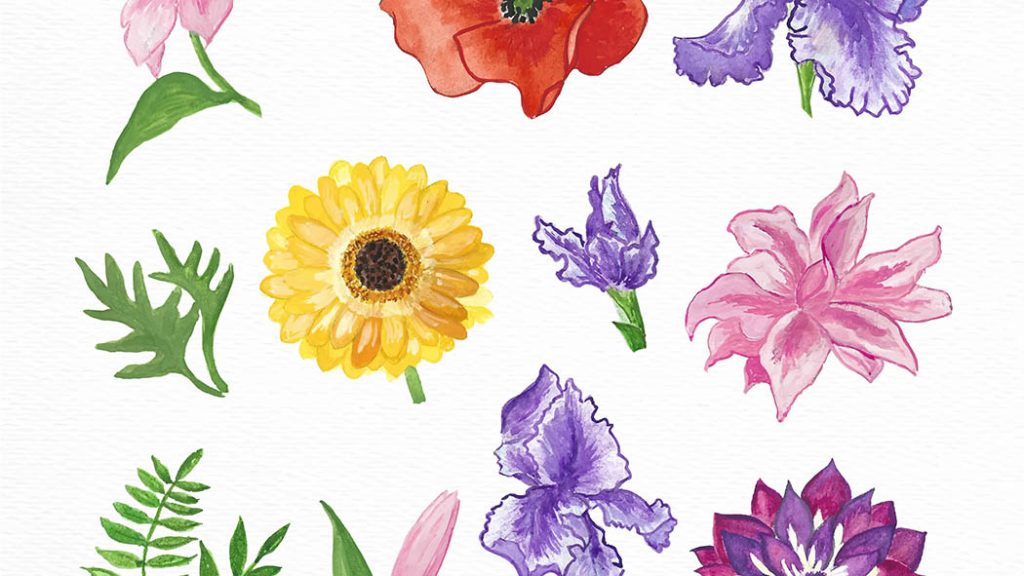
How to Paint Rose in Watercolor?
Rose painting by watercolors is a great way to begin learning the art of watercolor flowers. They have a clear-cut structure and allow experimentation with different colors and water consistencies.
Let’s learn how to paint watercolor roses in easy steps:
- The watercolors are thick in consistency. To start painting, you first need to add water to it to get the shade you want.
- Use your color palette. Take out the chosen color into a section of the palette, preferably the middle section. You can mix red and white to make a shade of pink. In another section, mix red with water to get shades of red.
- We’ll start painting at the center of it. Since the center has thin designs, create thin strokes. Hold your brush upright or vertical to the paper. With a light hand, start creating ‘C’ shapes in a circular pattern. Roses need layering of colors. Therefore, start with the lightest pigment.
- You now have to paint larger rose petals. Paint your way out by creating the same ‘C’ patterns. But this time, press down the brush a little harder to paint thicker strokes. We need about two layers of these medium-sized petals.
- For the last layer, add more pressure in the same shape to the brush. But this time, hold it at a 45-degree angle to the table.
- Just add a hint of darker colors in the petals. The color will spread with the water giving perfect hues. It’ll add more depth and contrast to the rose.
- To create leaves, mix the green color with water. Create two corresponding strokes next to the rose with medium pressure.
- Once the rose painting by watercolors dries, it’s ready!
You can also check this quick and popular YouTube tutorial to paint beautiful watercolor roses.
How to Paint Pansies in Watercolor?
Painting pansies in watercolor gives an impression of rich and velvety blossoms. Let’s learn the steps to paint it:
- Create a light shade of yellow color. Paint the bottom petal with it.
- Using the wet-on-wet technique, paint the violet color on the edges of the yellow petal. Leave the middle part unpainted. Let it dry completely.
- Now paint two lateral petals with the yellow color as done in the first step. Repeat the second step for both the petals.
- Paint the last petal above the flower with the violet color. Give a hint of yellow color at the center.
- Let the painting dry completely. After that, add detailing like a streak of lines on the petals with an angular brush.
You can learn more by watching this easy pansy flower watercolor tutorial
How to Paint Poppies in Watercolor?
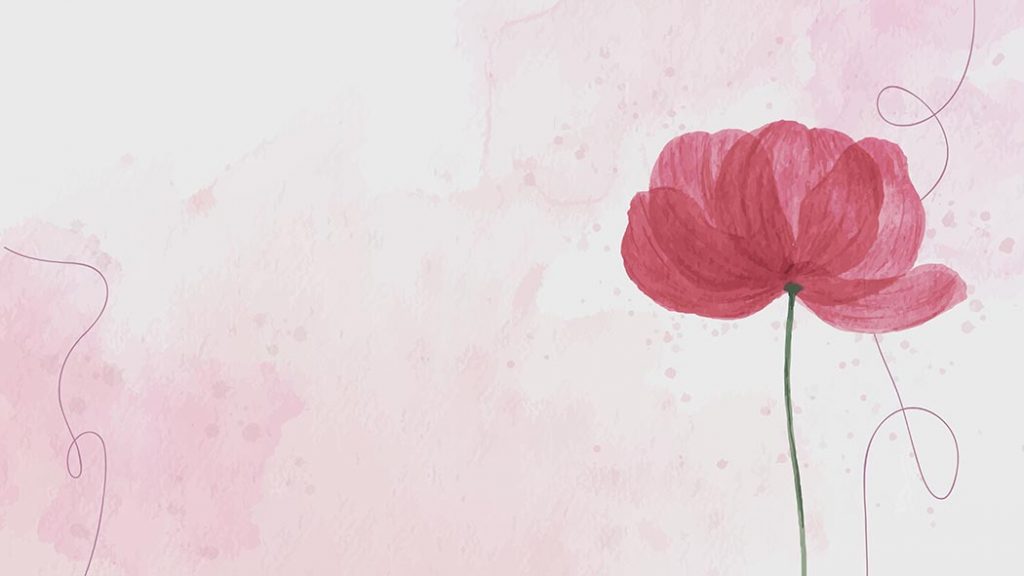
Painting poppies in watercolor is super-easy. Here are the steps to learn it
- Start by painting a basic loose structure of a poppy flower. To do so, you can use a pencil sketch of a poppy flower as a reference. To make a red poppy watercolor design, use a light shade of red color. Add more water than the pigment to maintain the transparency of the petal.
- To add depth to the petals, define the petals along the edges with the same shade of red. Do it when the paint is still wet.
- Take the black color and paint it in the center of all the petals. Let the color bleed a little into the petals. Do it when the red paint is not too wet.
- Using the dark green color, draw the stem of the bud. Keep it thin to give a delicate look to the flower.
- Your minimal yet impactful abstract poppies with watercolor are done!
Watch this video tutorial to understand how to make easy watercolor poppies.
How to Paint Sunflowers in Watercolor?
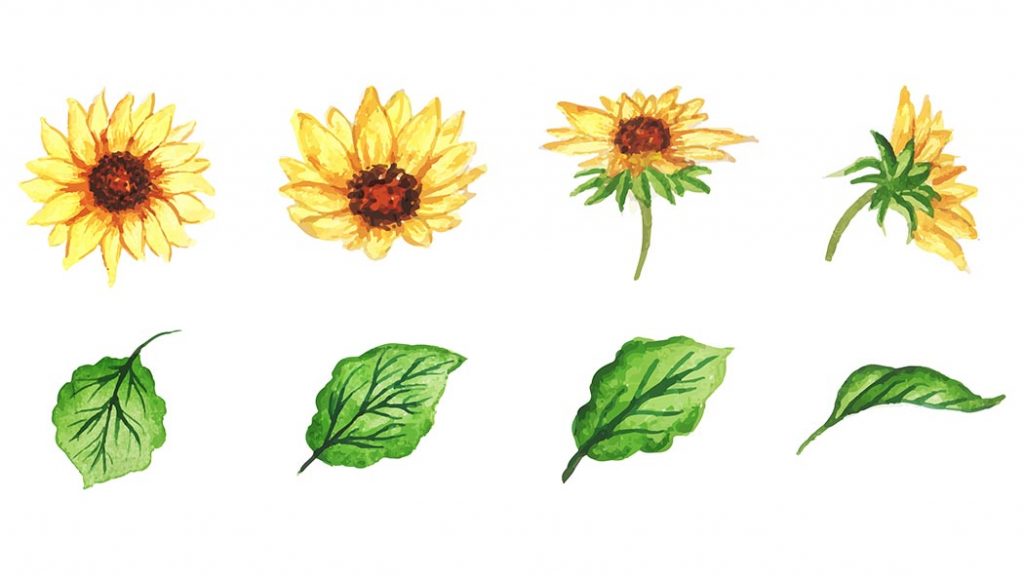
Sunflowers look complicated to paint. However, painting a sunflower with watercolor is easier than it looks. Let’s learn to paint watercolor sunflower for beginners:
- Start by painting the heart of the flower with a very diluted sienna yellow color.
- While it’s wet, add orange and dark sienna yellow to it to create a flaming impression.
- To increase the contrast, make it brown-ish by adding the blue color.
- After letting the heart dry, draw petals with a mix of yellow, red, and orange. Keep in mind to not paint the petals in the same thickness. Also, draw them in different directions.
- After you’re done with the first round of petals, add the second round by drawing just the tip of the petals.
- To draw the leaves and stem, use a shade of green that harmonizes with the watercolor sunflower.
- Your water paint sunflower is ready!