Art, Painting, Uncategorized
Fun with Watercolor: 5 Easy Painting Techniques for Kids
May
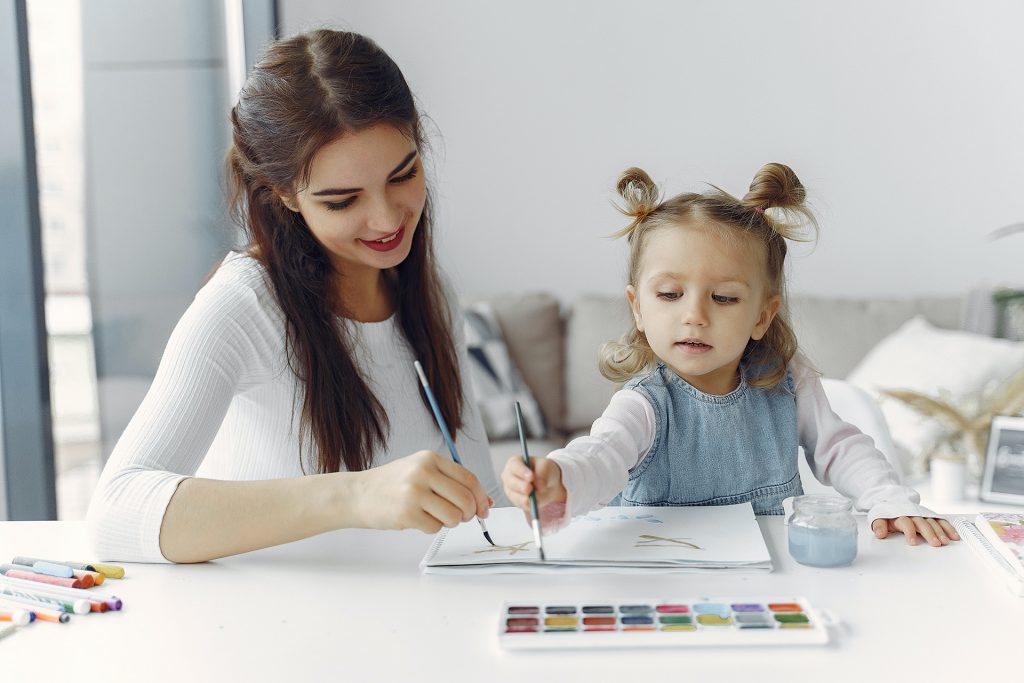
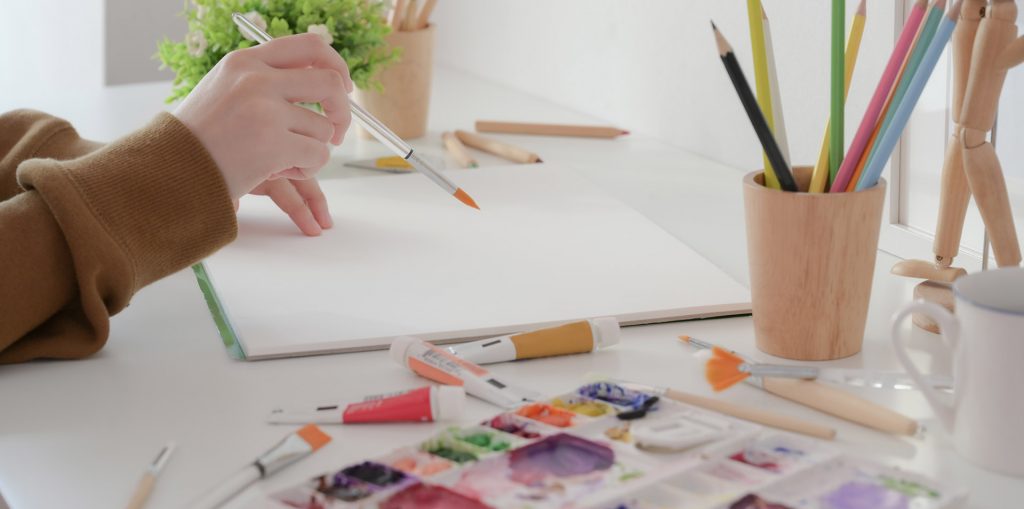
Interest for painting in watercolor has perhaps always started as a curiosity among children. It can be a bit intimidating for adults. However, youngsters have already become comfortable with it because it helps them express themselves through washes of colors.
At RiseBrite, we are deep believers in the idea of boosting the confidence of our children by sparking creativity.Did you know that watercolor painting, or any type of painting isn’t limited to painting with brushes? Here are some easy “hands-on” watercolor painting activities that can be introduced to your children for day full of fun!
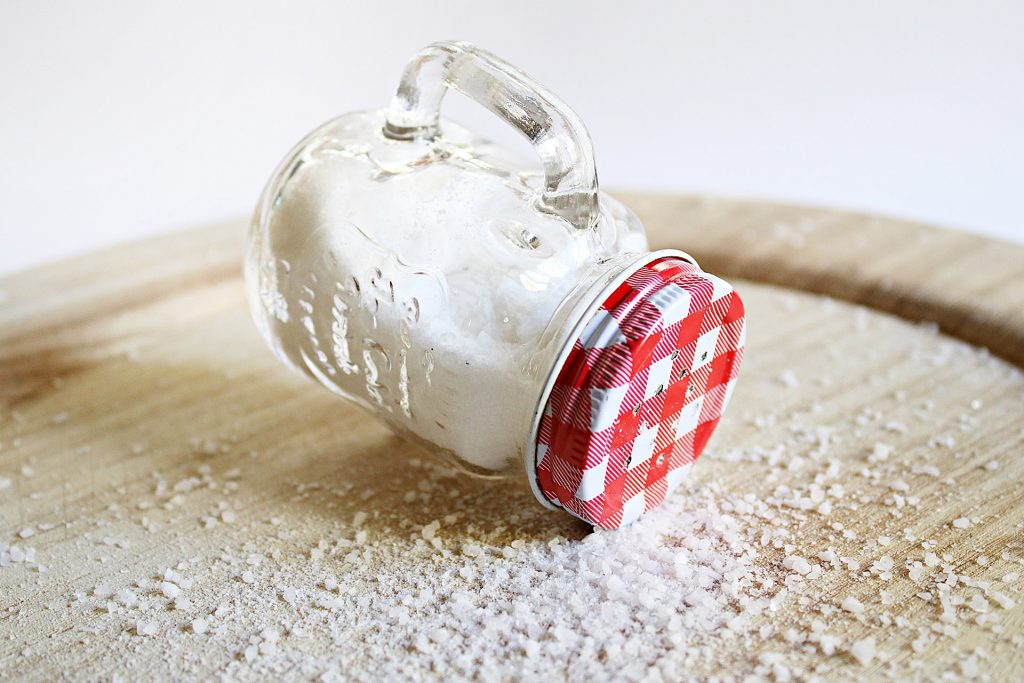
1. Salt Painting
Who knew edible ingredients could be a tool for watercolor painting? Salt is a fun, experimental tool to use when you’re running out of ideas. Plus, it doubles as a science experiment.
There are two ways to incorporate salt into watercolor activities:
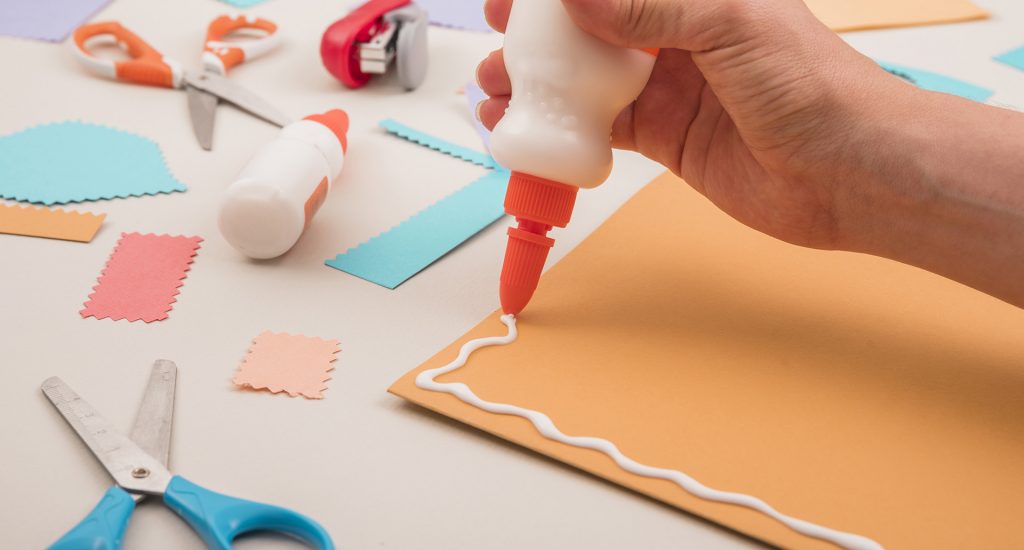
Embossed/raised painting
You’ll need: card stock or watercolor paper, white glue, pencil, table salt, watercolor paints, droppers, small cups, and a tray or any wide dish with edges.
First, protect your are with newspapers (or anything). Next, fill the plastic cups halfway with water. Then, add watercolor pigments to each cup. The more the color, the vibrant the water will be.
Next, on the card stock, write your name or draw shapes and lines — anything.
After that, thickly trace over the name or shape with white glue. Then, place the card stock or paper in a tray and sprinkle salt all over the traced item. It’s important to coat it well and even. After coating, take the paper and shake gently to remove excess salt. Let it dry.
Here comes the fun part.
After the glue has dried, fill the dropper with one of the colors from the cup — let your young one decide on the color. Then, carefully drop the liquid color on the salt and glue drawing. You and your child will be amazed as the colors spread. Then, move on with the other colors until the drawing has been colored completely.
What is the science behind it?
When salt is poured over glue, it absorbed it. Salt is a hygroscopic substance. In other words, it absorbs the glue, color pigments, and moisture in the air. As a result, it leaves a raised or embossed texture as it dries.
Salt texture painting
For this one, salt leaves a rough but pretty texture on a painting.
You’ll need:
card stock or watercolor paper, cups, paintbrushes, table salt, and of course, watercolor.
Before starting, make sure to cover the surface you’re going to be working on with newspapers or an old cloth.
To begin, paint the entire card stock or paper with 3-4 colors. There’s no need to focus on a specific object, or anything. Just paint and blend. Just be careful as to not overuse the water because many times, the watercolor pigments come out faded. But there’s no need to worry because your child can let it soak and paint over it until it comes out bright.
Next, as the build-up of color causes the paper the get moist, you or your child can now sprinkle salt. Be careful not to go heavy-handed. Grab a pinch or add a little to your palm, and sprinkle over the parts that would be wet. No need to sprinkle over the whole painting — unless your child wants to.
At this point you should see something happening — dots are starting to appear and grow. You can repeat the process of painting and sprinkling salt, if necessary.
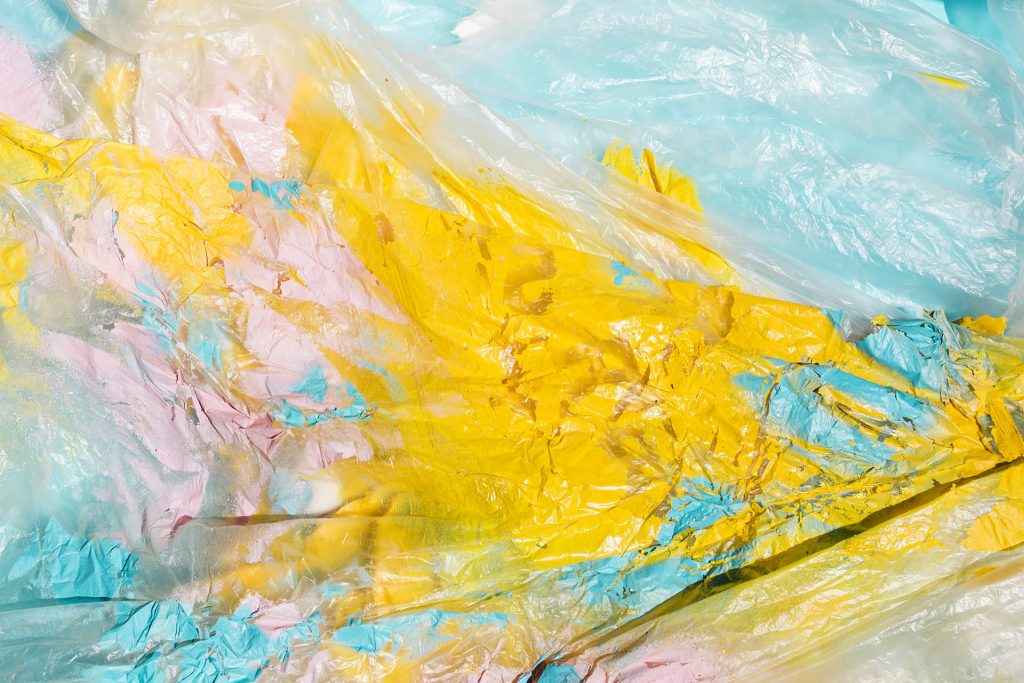
2. Plastic wrap
It’s such a waste to see plastic wrap just being thrown away. Good news, if it’s clean enough, you can reuse it on a watercolor activity with your young one.
You’ll need:
Card stock or watercolor paper, a sponge or a watercolor brush, plastic wrap, and of course, watercolor pigments.
First step is to cover your area with an old cloth or newspapers. Next, lay the card stock or watercolor paper then using a sponge or brush, have your child cover the whole paper with different washes of color — the whole thing.
Then, take a sheet of plastic wrap and place it over the painting while it’s quite wet. Carefully scrunch up and pinch some parts of the plastic wrap so it becomes wrinkly. You and your child can be creative with this step. Press it down the paper.
Now, keep it on one side and let it dry — it could take overnight. Once the paint is dry, gently lift the plastic wrap and voila, magic happened.
The plastic wrap served as a stencil for the abstract lines and wrinkles as the paint dried. Therefore creating a psychedelic effect.
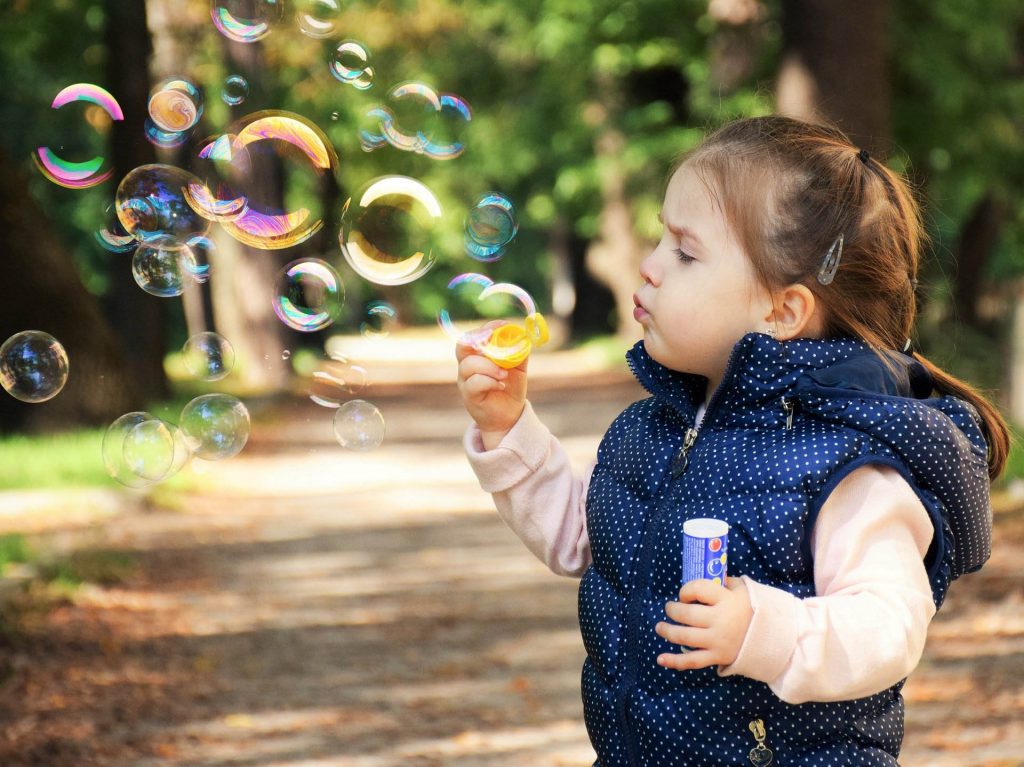
3. Blowing bubbles
This is an enjoyable activity not just for children, but for everyone! Because who doesn’t like bubbles?
You’ll need:
cardstock or watercolor paper, a sponge, dish soap, straw, a glass, mug, or bowl, and liquid watercolor or any pigment (but be careful!)
First of all, we make the “magic liquid”. In a bowl or mug, mix dish soap and color. We don’t need the exact measurements but a 1:1 ratio will do.
Next, cover your workspace with an old cloth or a bunch of newspapers, and place your paper. Then carefully dampen the card stock or watercolor paper with water using a sponge. We don’t want it too wet, just enough that you can feel the moisture.
Take a straw and let your child blow bubbles on the mixture we created earlier. When bubbles each the rim, remove the straw, take the paper, and press it on the bubbles. Alternatively, you can scoop the bubbles and place it where you want.
If the paper had the right amount of wetness, the bubbles will stick to it. If it didn’t then it must be a little dry. So, if that happens, just wet it again. After that, set the paper down and watch the bubbles pop and leave color.
Repeat the process with different colors until your child is happy with it.
If you think it needs a little more pizzazz, you can add more paint to the paper. You can sprinkle, brush, or even use other objects to add color.
This activity is best done outdoors on a summer day. The sun will be out and shining, while your child takes on a watercolor bubble adventure.
4. Watercolor and oil
Here is another fun activity becoming a science experiment perfect for youngsters because it teaches how different two types of liquids can be. You’ll need: card stock or watercolor paper, eyedroppers, cooking oil (or any oil you have on hand), cups, liquid watercolor, and trays.

First, let’s prepare our colors. In separate cups, mix each color of paint with enough water. On one separate cup, add your oil. Next, place the watercolor paper on a tray to avoid the hectic clean-up after this activity.
Then, using an eyedropper for each color you have chosen, drop the colors on different sections of the paper. Let your kids be messy and creative! At the same time, drop oil on some parts of the paper and observe it reacts once in touch with the watercolor. (You can also wet the paper first with water for a different effect.)
Repeat the steps of dropping color and oil until your child is happy with the creation. But be careful though, too much color and make the painting a muddy brown color.
When done, don’t disturb the paper too much and place it on a hands-off place so it can dry properly overnight.
Finally, observe how the watercolor didn’t disturb the oil while the oil kept its shape. This is a science lesson you can teach your child about the different types of liquid.
5. Watercolor resist
Resist techniques are one of the quick and easy ways to do with watercolor. Using a different object.
There are two ways to use this technique:
Crayon resist
For this activity, you’ll need: card stock or watercolor paper, watercolor paint, crayons or oil pastels, and paintbrush.
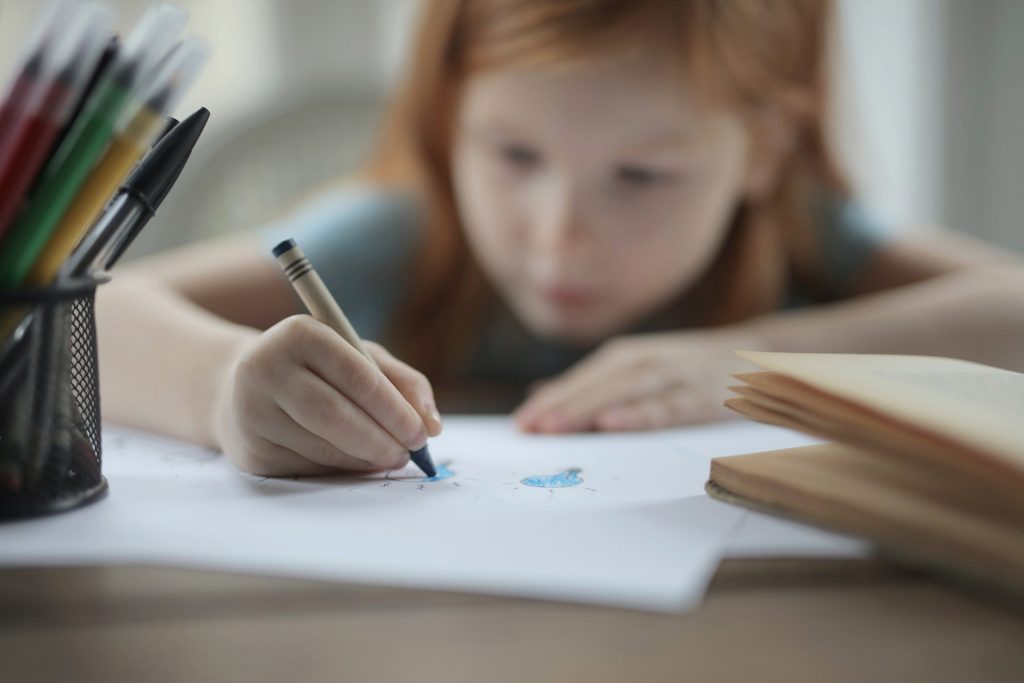
First of all, cover the area you’re going to work on with a bunch of newspapers or an old cloth. Next, place the paper over it. Then hand some crayons to your children and let them go crazy with the scribbles and drawings. Let them draw anything.
After that, using a brush, have them paint over their drawing with watercolor. Observe how the color won’t touch the crayon. That’s because the wax in crayons has a denser texture whereas watercolor is, well, water-based. Just like how it’s impossible to mix oil and water.
Sticker resist
Like crayon resist, this technique doesn’t let the watercolor touch the paper where the object, or in this case, sticker, is. Let your child’s curiosity meld with creativity.
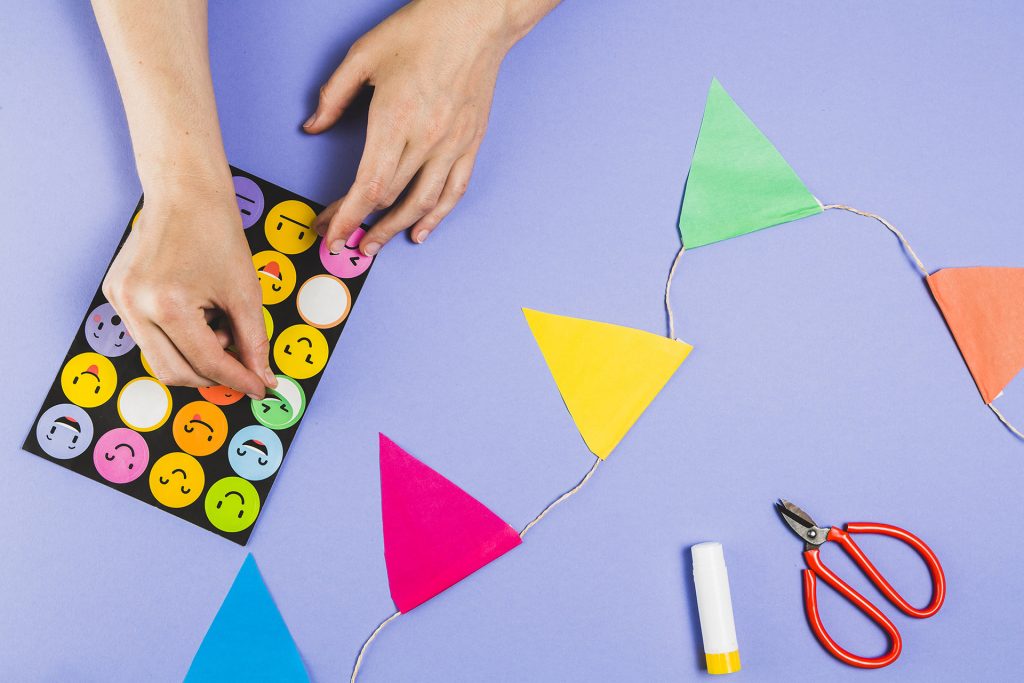
You’ll need: card stock or watercolor paper, different shapes of stickers, watercolor paint, and a paintbrush.
Like always, the first thing to do is cover your work area to avoid the messy clean up that comes after painting. Place the paper. Next, let your child choose stickers and place them anywhere on the paper. Help them press each sticker so there are no loose edges where watercolor might seep in.
Next, have them paint over the entire paper — even on the stickers. Let them use different colors in different places on the paper. After that, let it dry. Lastly, peel the stickers off the paper and see how the sticker left its shape.
The stickers acted as a barrier to the watercolor. This way, the paint didn’t touch the paper where the sticker was placed, resulting in beautiful white shapes.
These techniques are fun ways to keep your child from getting bored while using watercolor. Incorporating everyday objects that are already in our homes can be used in giving paintings a level up. Besides, these double as science experiments.
Who knew art and science go together, hand in hand? Well, the adults did. But now it’s their turn.


