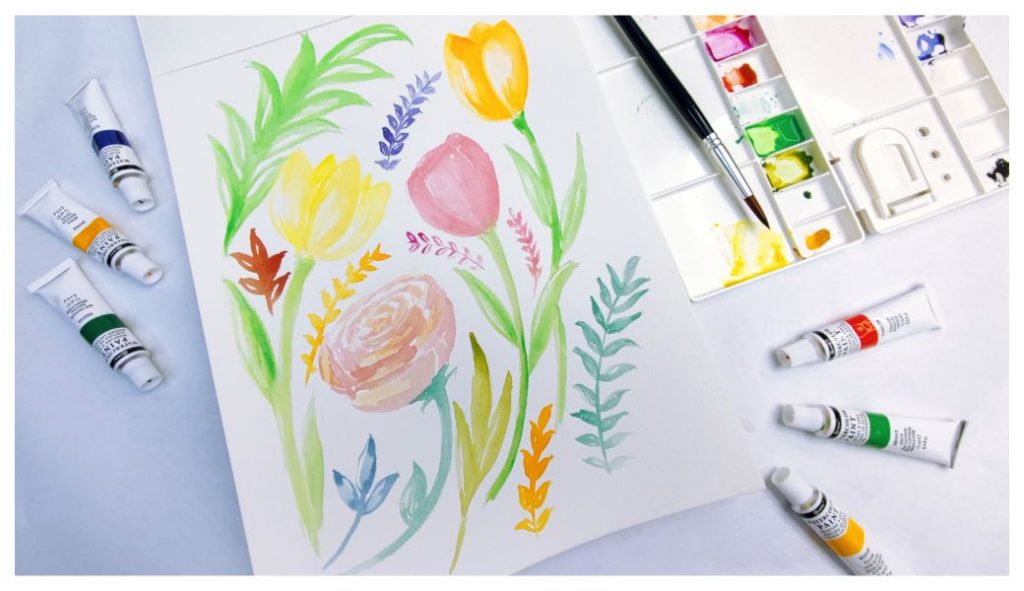
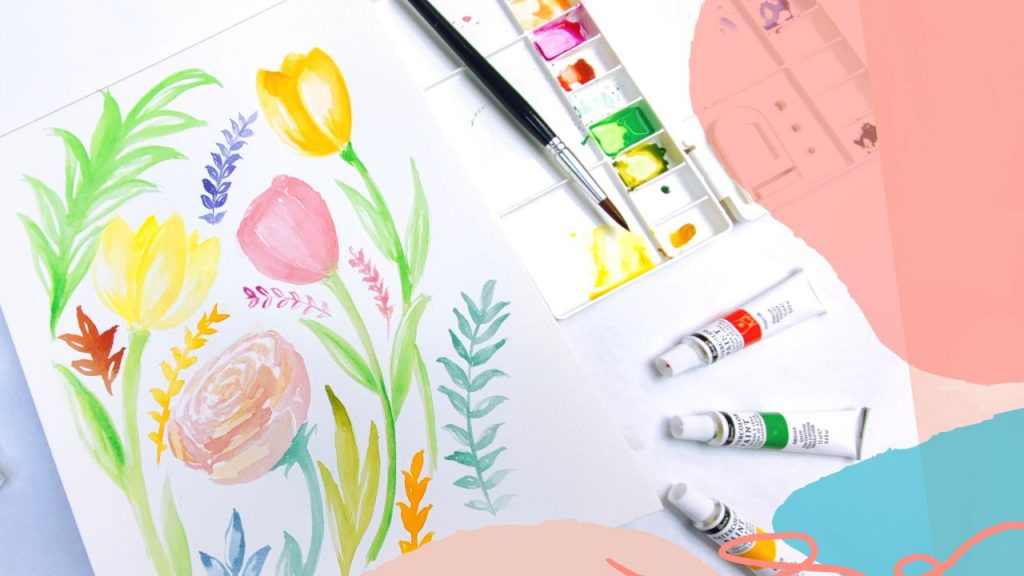
Art, Drawing, Painting, Watercolor Paint
Super Easy Step By Step Watercolor Rose And Tulip Flower Painting For Kids and Beginners
Sep
Welcome to a new watercolor painting tutorial! Today, we are going to learn how to create flowers and leaves with watercolor!
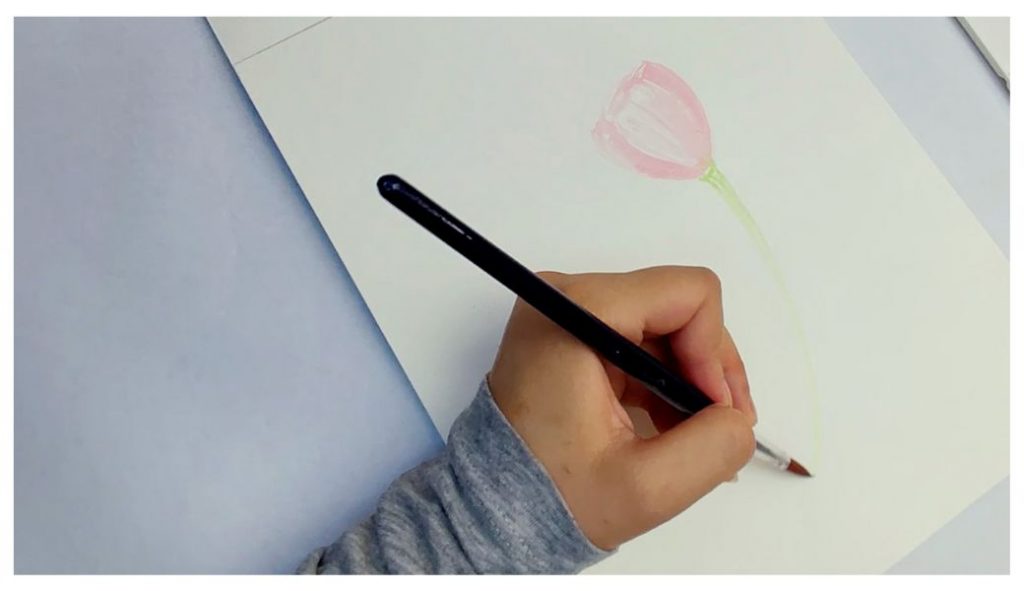
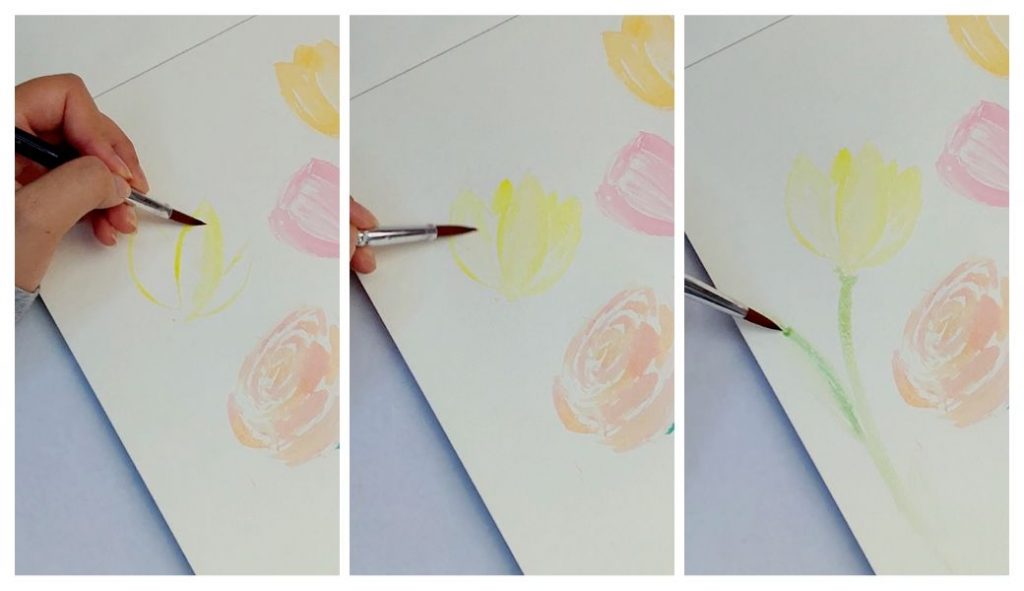
Step 1:
Let’s start with one tulip flower. Use the tip of the round brush to sketch the petals.
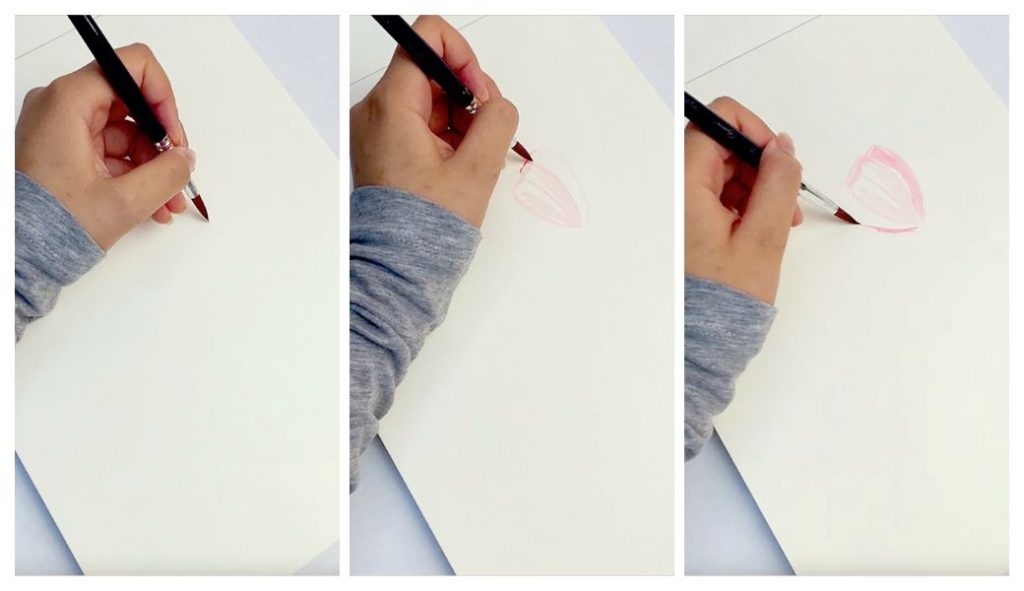
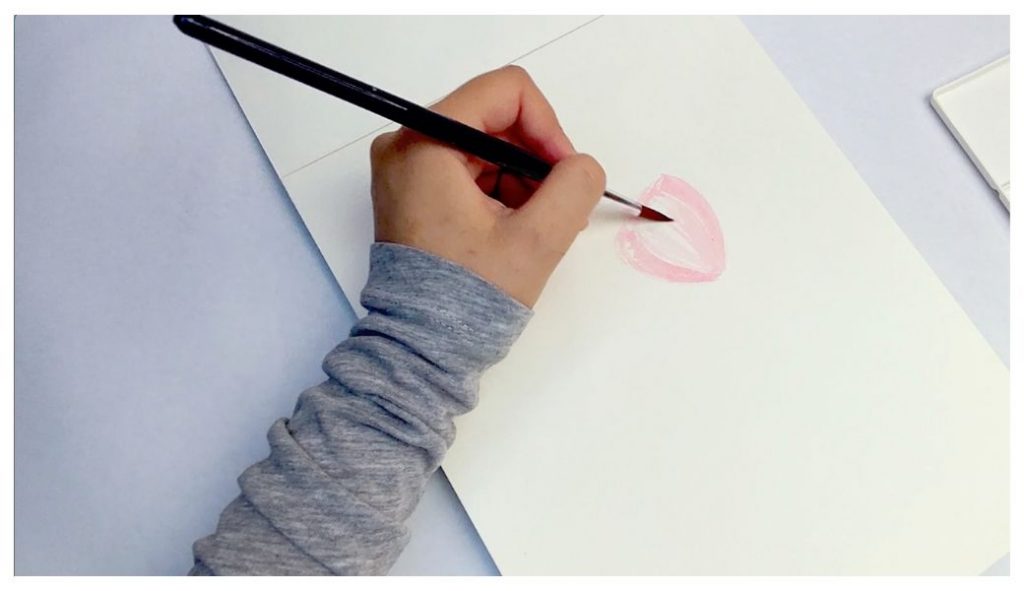
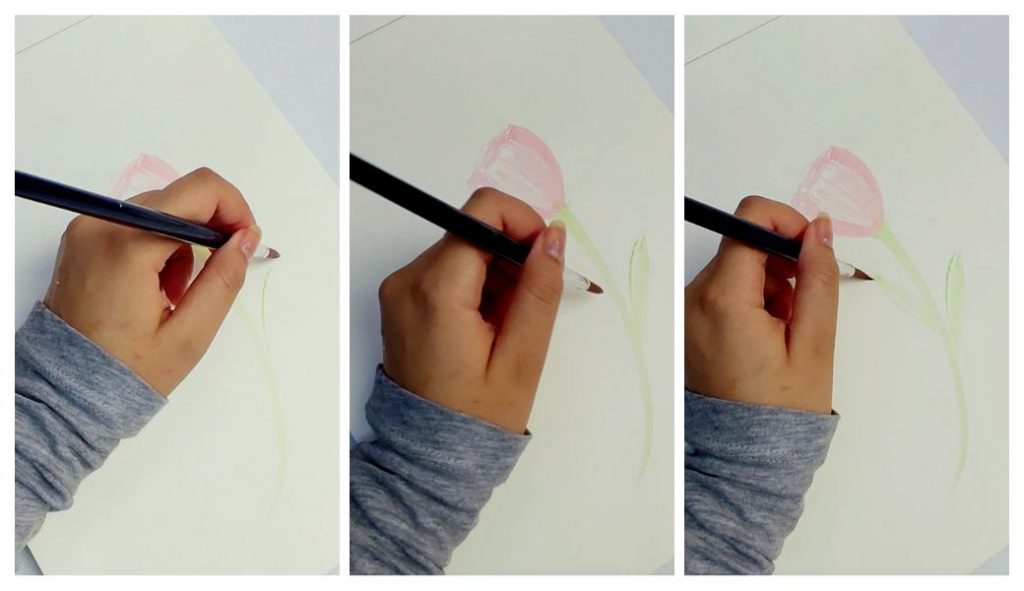
Step 2:
Use a light color paint to fill it in and leave some areas uncovered.
Step 3:
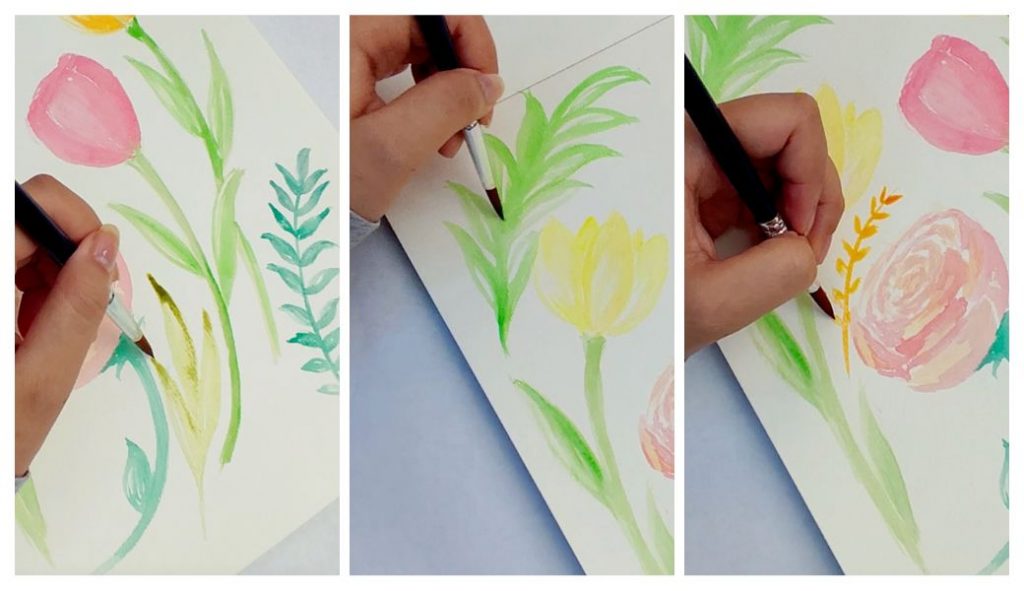
Paint the stem of the flower like this.
Step 4:
Add some leaves.
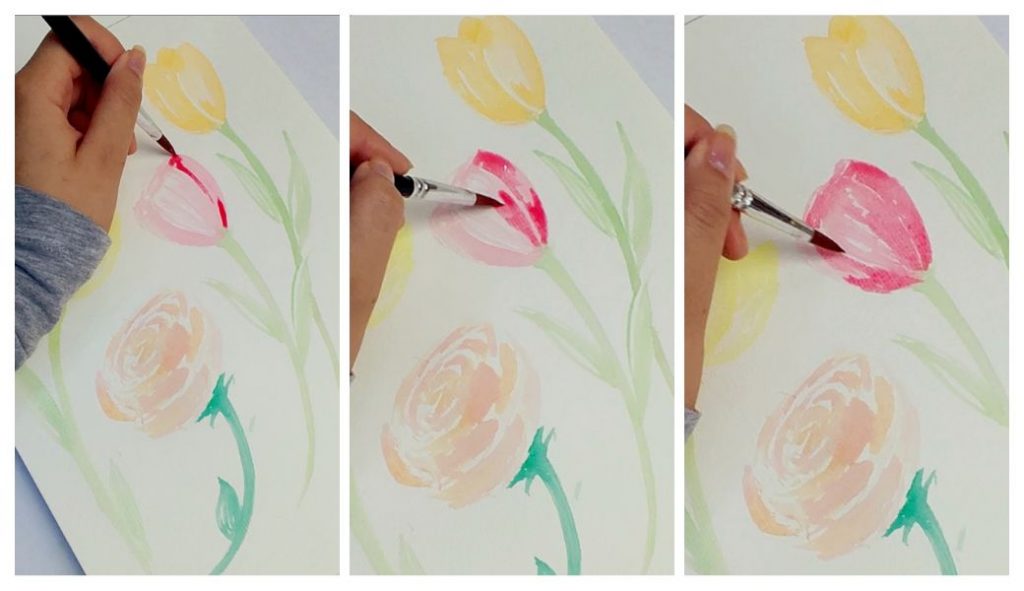
Step 5:
Next to the first flower, create a new tulip using another color. This time, apply a little more paint to the tip and bottom of each flower petal. Continue from the edges toward the center.
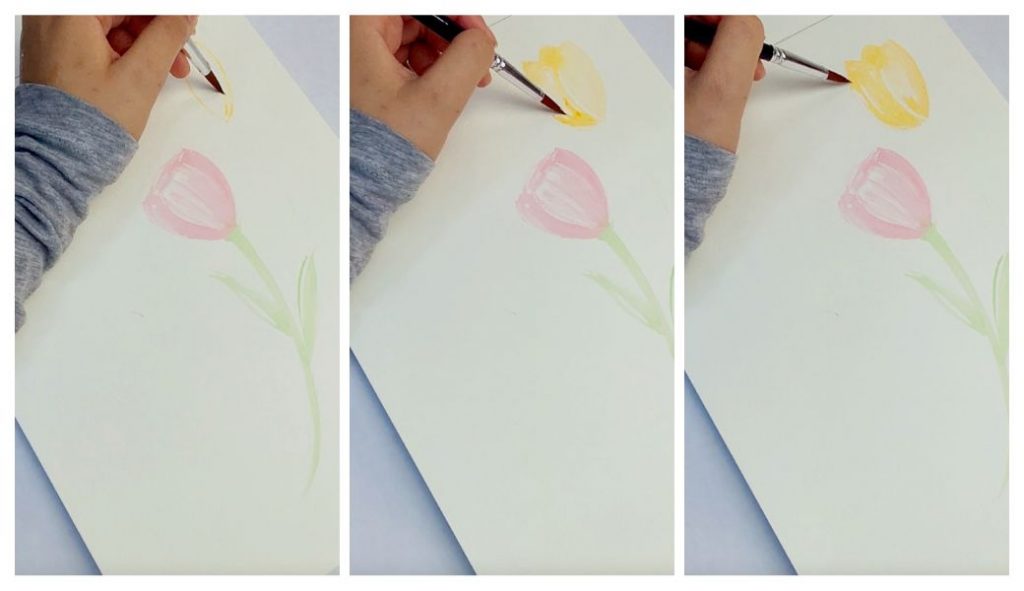
Step 6:
Paint the stem and leaves like before.
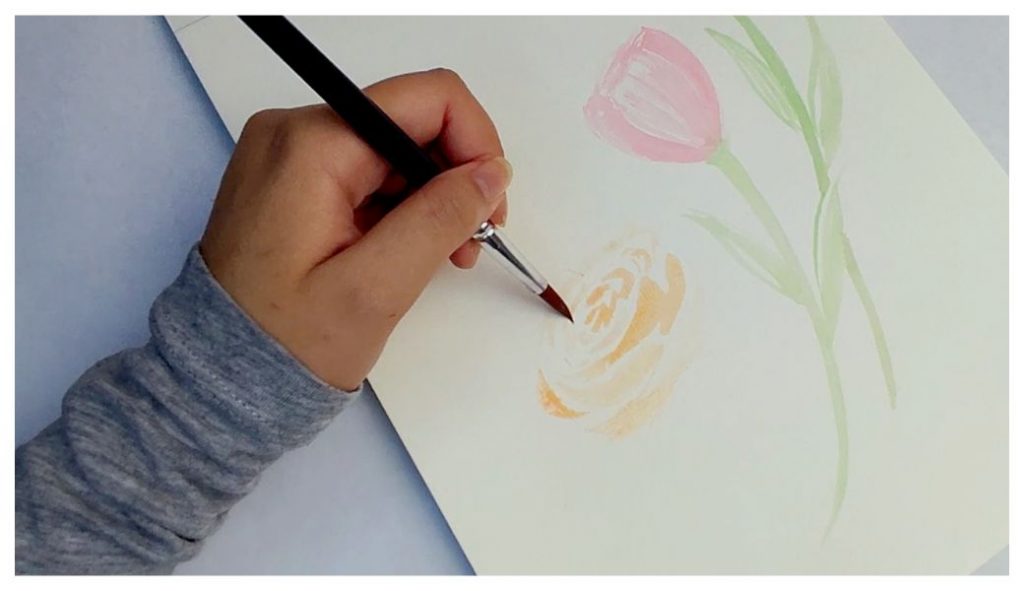
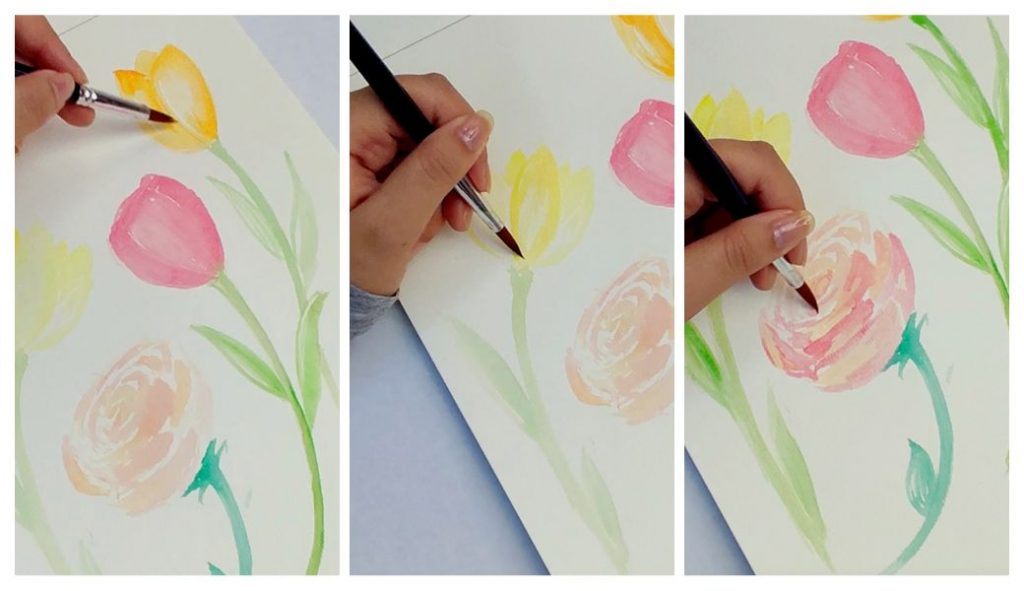
Step 7:
Now, let’s create a rose. Start from the center by making curved petals.
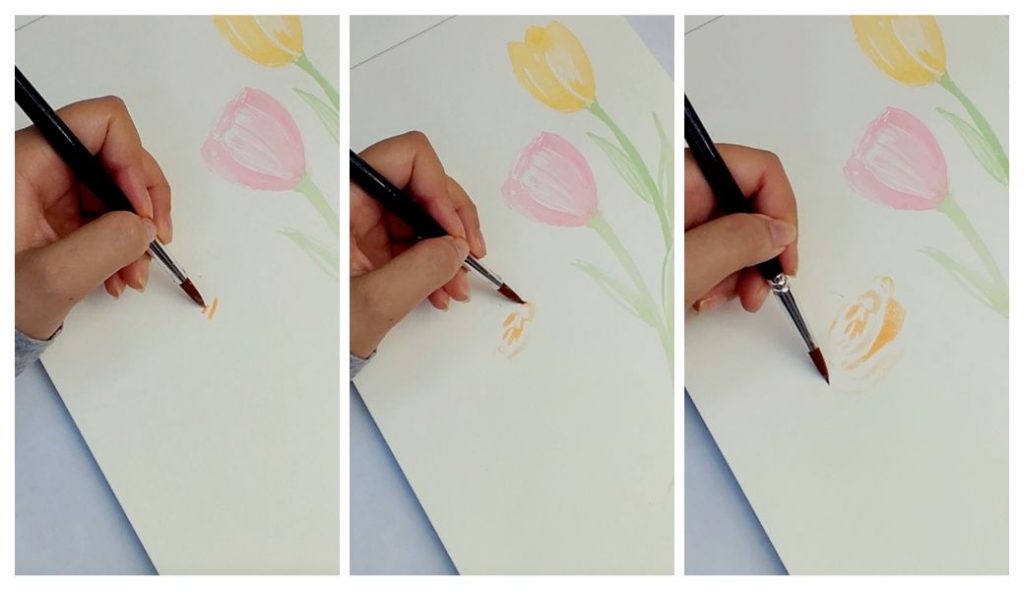
Step 8:
Continue creating a circular shape and painting bigger petals on the edges.
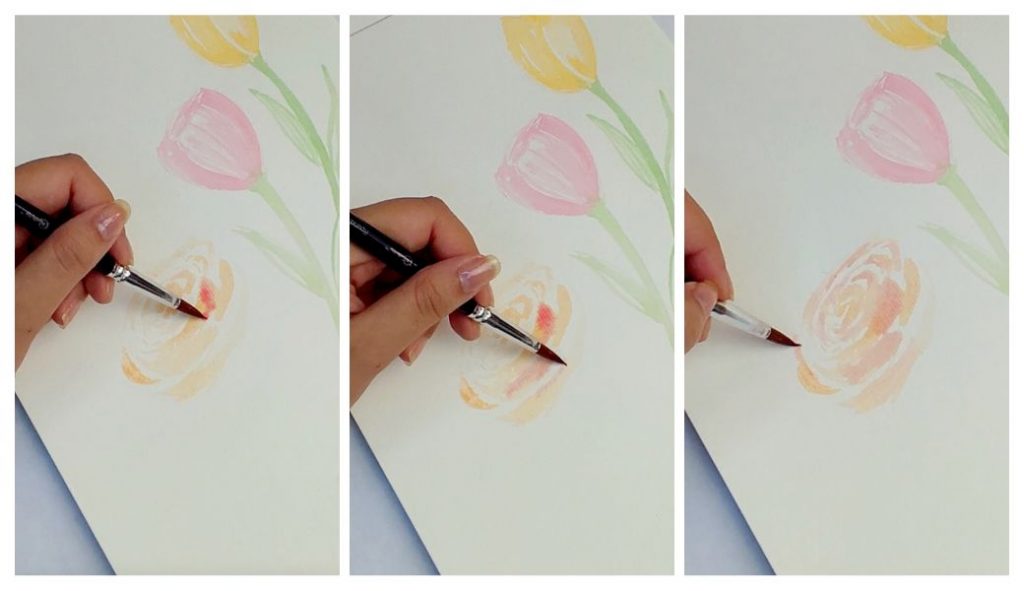
Step 9:
Add red tones in some areas.
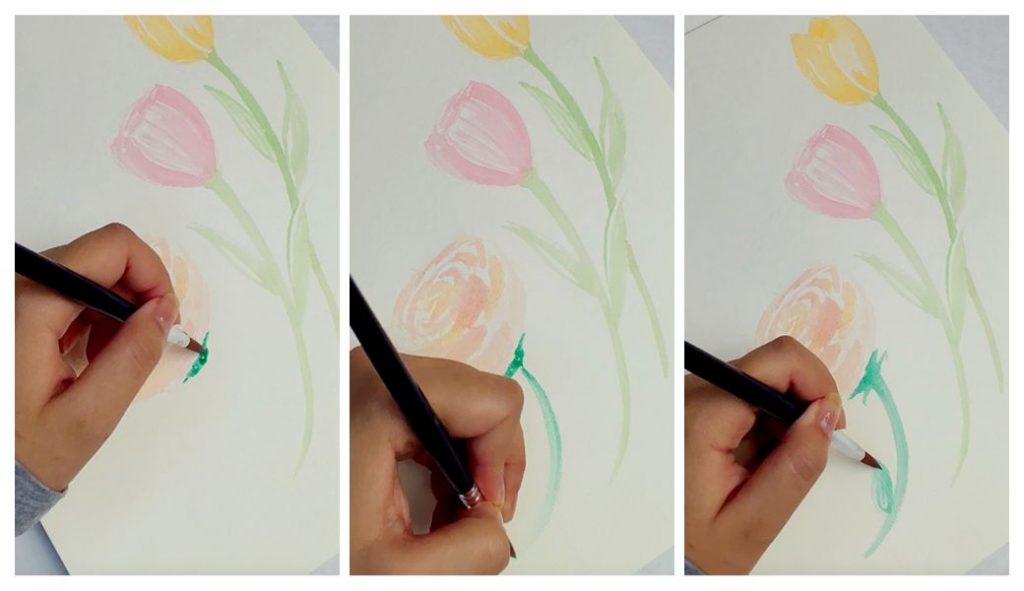
Step 10:
Paint the stems and leaves.
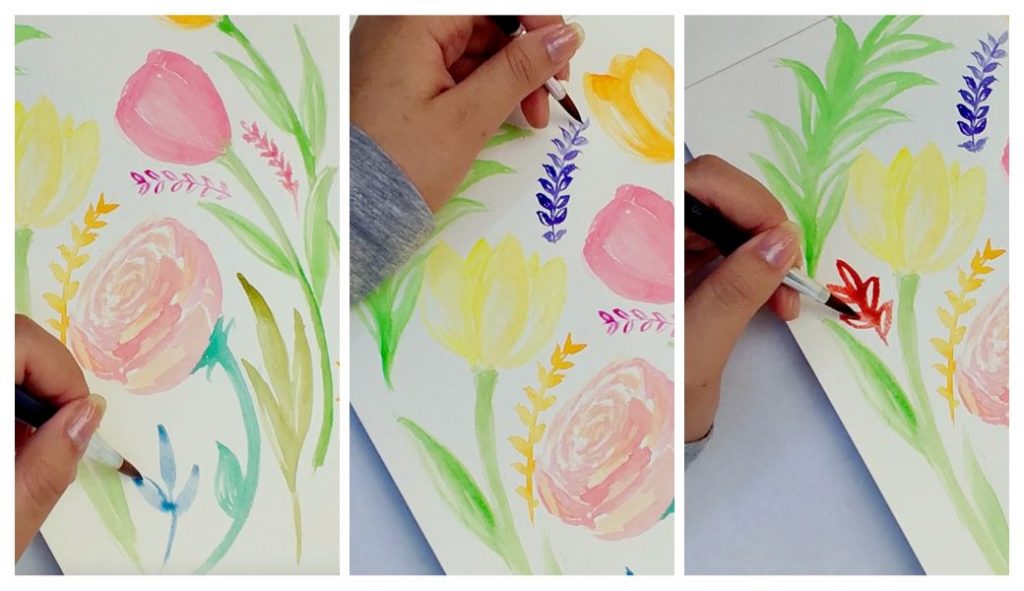
Step 11:
Paint another tulip using a different color.
Step 12:
Let’s create some shadows using deeper color tones.
Step 13:
Apply this process to all flowers, stems, and leaves.
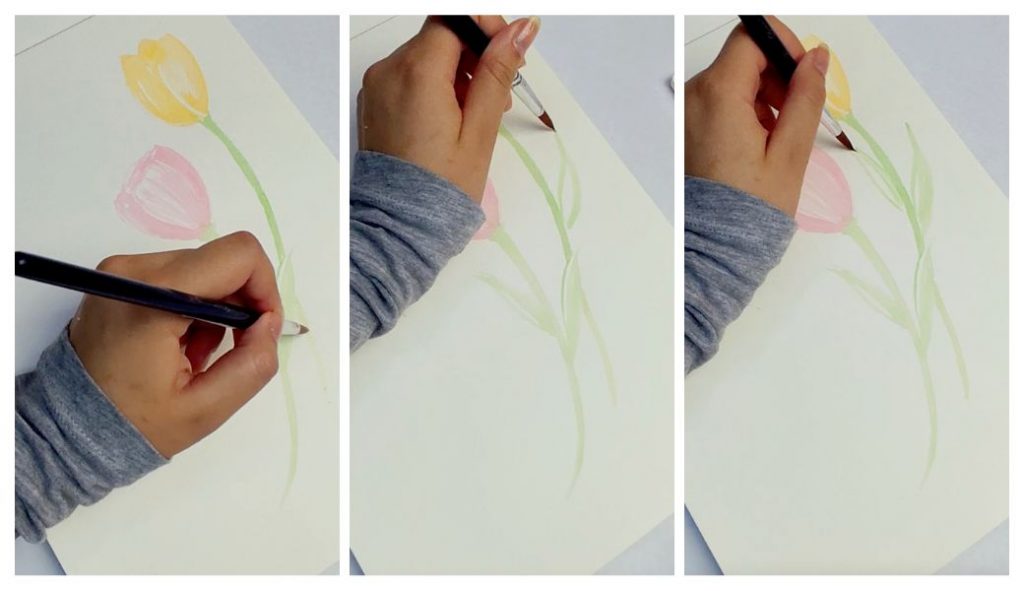
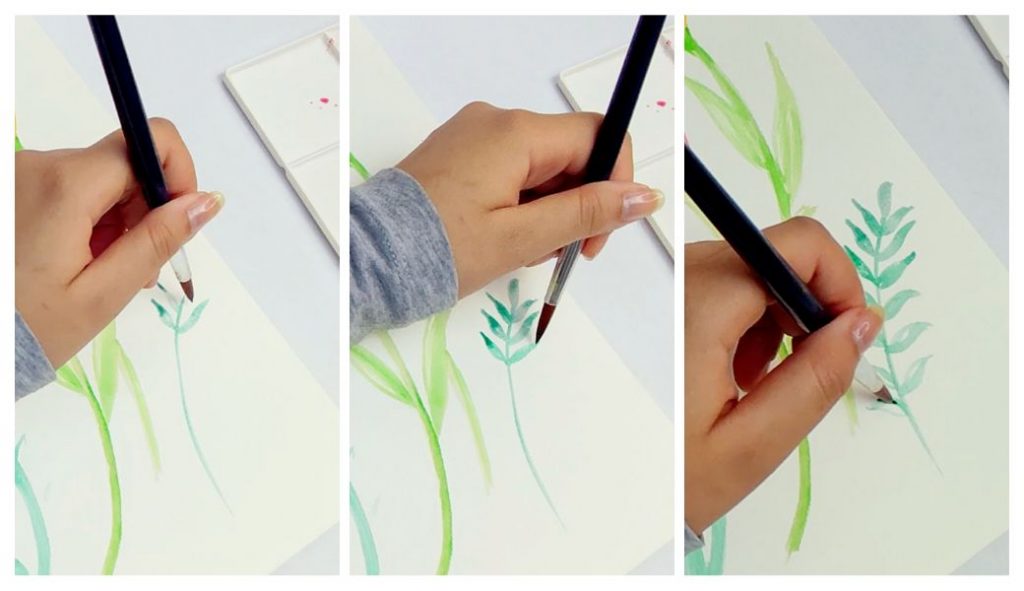
Step 14:
Add more leaves and springs in other areas. You can use different colors and sizes.
Step 15:
Paint all the leaves, flowers, and details you like. Have fun creating a beautiful design!
Step 16:
Let it dry and enjoy your beautiful watercolor creation!